

-
Recent Posts
login and rss
Boost Your Git Workflow: Open GitHub and GitLab Repos Instantly from the Command Line
Are you a developer who frequently switches between your local Git environment and web interfaces like GitHub or GitLab? Wouldn’t it be great if you could open your online repository with a single Git command? In this guide, we’ll introduce a powerful Git alias that streamlines your workflow when working with remote repositories.
The Time-Saving Git Alias for Quick Repository Access
Let’s dive into two versions of a Git alias that allows you to open your GitHub or GitLab repository page instantly from your terminal:
Git Alias for macOS and Linux Users
git config --global alias.browse '!f() { repo_url=$(git config --get remote.origin.url) && open "${repo_url}"; }; f'
Git Alias for Windows Users
git config --global alias.browse '!f() { repo_url=$(git config --get remote.origin.url) && start "" "${repo_url}"; }; f'
How Does This Git Alias Work?
Let’s break down the components of this Git alias:
git config --global alias.browse: Creates a global Git alias named “browse”.- The
!allows execution of a shell function instead of a Git subcommand. f() { ... }; f: Defines and immediately calls a function namedf.repo_url=$(git config --get remote.origin.url): Retrieves the URL of the repository’s origin remote.open "${repo_url}"(macOS/Linux) orstart "" "${repo_url}"(Windows): Opens the URL in the default web browser.
Using the Git Alias in Your Workflow
After adding this alias to your Git configuration, simply run:
git browse
This command, when executed from any directory within your Git repository, will open the corresponding GitHub or GitLab page in your default web browser.
Benefits of Using This Git Alias for GitHub and GitLab Users
- Time Efficiency: Eliminates the need to manually copy URLs or navigate through GitHub/GitLab interfaces.
- Improved Focus: Maintain your command-line workflow while quickly accessing web interfaces.
- Universal Compatibility: Works seamlessly across different repositories and Git hosting platforms.
- Platform Agnostic: Whether you’re using GitHub, GitLab, or another web-based Git service, this alias functions identically.
Practical Applications in Your Development Workflow
Consider these scenarios where this Git alias proves invaluable:
- Quickly access the GitHub/GitLab interface to create a pull request.
- Check recent issue comments on GitLab while working on related code.
- Share your GitHub repository link with team members without leaving the terminal.
- Effortlessly switch between multiple project repositories on different platforms.
Customizing Your Git Alias for Enhanced Functionality
Feel free to modify the alias to better suit your development needs. For instance, you could extend it to open specific GitHub or GitLab pages, such as the issues or pull requests sections.
Conclusion: Elevate Your Git, GitHub, and GitLab Experience
By incorporating this simple yet powerful Git alias into your toolkit, you can significantly enhance your workflow when working with GitHub, GitLab, or any web-based Git platform. It’s a small addition that can lead to substantial improvements in your daily development tasks.
Remember, optimizing your development workflow often comes from these seemingly minor enhancements. Give this Git alias a try and experience how it can streamline your interactions with online Git repositories.
Happy coding and effortless repository browsing!
Mastering Arduino Uploads in Visual Studio Code: 3 Time-Saving Techniques
Introduction
Are you tired of constantly switching back to your .ino file just to upload your Arduino sketch in Visual Studio Code (VS Code)? As an Arduino developer using VS Code, you’ve likely encountered this frustrating hurdle. It’s a small but persistent issue that can disrupt your workflow and slow down your development process. But fear not! In this comprehensive guide, we’ll explore three powerful techniques to streamline your Arduino upload process in VS Code, allowing you to upload sketches effortlessly from any file in your project.
Why Improve Your Arduino Upload Workflow in VS Code?
Before we dive into the solutions, let’s understand why optimizing your Arduino upload process in VS Code is crucial:
- Time-saving: Eliminate the need to switch files, saving precious development time.
- Improved focus: Maintain concentration on your current task without interruptions.
- Enhanced productivity: Streamline your workflow for faster prototyping and development.
- Better user experience: Make VS Code feel more intuitive for Arduino development.
Now, let’s explore the three methods to enhance your Arduino VS Code experience.
Method 1: Harnessing VS Code Tasks for Arduino Uploads
One of the most versatile solutions is to leverage VS Code’s built-in task runner. This method creates a dedicated Arduino upload command that you can trigger from anywhere in your project.
Step-by-Step Guide:
- Open your Arduino project in VS Code.
- Navigate to the
.vscodefolder in your project directory. If it doesn’t exist, create it. - Inside the
.vscodefolder, create a file namedtasks.json(or edit it if it already exists). - Add the following JSON configuration to the file:
{
    "version": "2.0.0",
    "tasks": [
        {
            "type": "shell",
            "label": "Arduino: Upload",
            "command": "${command:arduino.upload}",
            "problemMatcher": [
                "$arduino"
            ],
            "group": {
                "kind": "build",
                "isDefault": true
            }
        }
    ]
}
- Save the
tasks.jsonfile.
How to Use:
After setting up the task, you can trigger the Arduino upload process from any file in your project by pressing Ctrl+Shift+B (or Cmd+Shift+B on macOS). This keyboard shortcut will initiate the upload, regardless of which file you’re currently editing.
Pro Tip:
You can customize the task further by adding pre-upload or post-upload actions. For example, you could add a task to automatically save all files before uploading.
Method 2: Adding a Convenient Arduino Upload Button to VS Code’s Status Bar
If you prefer a more visual approach, you can add a custom status bar item for Arduino uploads. This method requires the installation of the “Command Runner” extension in VS Code.
Step-by-Step Guide:
- Open VS Code and navigate to the Extensions view (Ctrl+Shift+X).
- Search for “Command Runner” and install the extension by James Ives.
- In your project’s
.vscodefolder, create a file namedsettings.json(or edit it if it already exists). - Add the following JSON configuration to the file:
{
    "command-runner.commands": {
        "Arduino: Upload": "arduino.upload"
    },
    "command-runner.statusbar": [
        {
            "text": "$(arrow-up) Arduino Upload",
            "tooltip": "Upload Arduino Sketch",
            "command": "Arduino: Upload",
            "alignment": "left",
            "priority": 100
        }
    ]
}
- Save the
settings.jsonfile and reload VS Code.
How to Use:
You’ll now see an “Arduino Upload” button in your VS Code status bar. Clicking this button will start the upload process, no matter which file you’re working on. This visual cue serves as a constant reminder of the upload functionality and provides easy access with a single click.
Pro Tip:
You can customize the icon, text, and position of the status bar item to fit your preferences. Experiment with different configurations to find what works best for your workflow.
Method 3: Creating a Custom Keyboard Shortcut for Arduino Uploads
For keyboard shortcut enthusiasts, this method allows you to set up a custom key combination to trigger Arduino uploads. This technique is perfect for developers who prefer keeping their hands on the keyboard.
Step-by-Step Guide:
- In VS Code, open the Keyboard Shortcuts editor (File > Preferences > Keyboard Shortcuts).
- Click the “Open Keyboard Shortcuts (JSON)” button in the top right corner.
- Add the following JSON configuration to your
keybindings.jsonfile:
[
    {
        "key": "ctrl+alt+u",
        "command": "arduino.upload",
        "when": "editorTextFocus"
    }
]
- Save the
keybindings.jsonfile.
How to Use:
Now, pressing Ctrl+Alt+U will start the Arduino upload process from any file in your project. This method offers the fastest way to trigger uploads without moving your hands from the keyboard.
Pro Tip:
Feel free to change the key combination to whatever suits you best. Just make sure it doesn’t conflict with other VS Code shortcuts or your system’s keyboard shortcuts.
Bonus: Combining Methods for Maximum Efficiency
For the ultimate Arduino development experience in VS Code, consider implementing all three methods. This combination provides multiple ways to trigger uploads, catering to different situations and preferences:
- Use the task (
Ctrl+Shift+B) when you’re already using other VS Code tasks. - Click the status bar button when you prefer a visual cue.
- Use the custom keyboard shortcut (
Ctrl+Alt+U) for the fastest upload trigger.
Troubleshooting Common Issues
While setting up these methods, you might encounter some issues. Here are solutions to common problems:
- Upload command not working: Ensure you have the latest Arduino extension for VS Code installed and properly configured.
- Status bar item not appearing: Check if the Command Runner extension is installed and enabled. Try reloading VS Code after making changes.
- Keyboard shortcut conflict: If your chosen shortcut doesn’t work, it might be conflicting with another VS Code or system shortcut. Try a different key combination.
Conclusion: Elevate Your Arduino Development in VS Code
By implementing these time-saving techniques, you can significantly enhance your Arduino development workflow in Visual Studio Code. Say goodbye to the constant file-switching interruptions and hello to a smoother, more efficient coding experience.
Each method offers unique advantages:
- Tasks integrate seamlessly with VS Code’s built-in systems
- Status bar items provide a user-friendly, clickable interface
- Keyboard shortcuts offer lightning-fast access for power users
Choose the method that best fits your personal workflow, or combine them for maximum flexibility and efficiency. With these tools at your disposal, you’ll be able to focus more on bringing your Arduino projects to life and less on the mechanics of uploading.
Remember, the key to a productive development environment is customization. Don’t be afraid to tweak these solutions to better fit your needs. Happy coding, and may your Arduino uploads in VS Code be swift, seamless, and stress-free!
Further Resources
To deepen your understanding of Arduino development in VS Code, check out these helpful resources:
- Official Arduino Extension for VS Code Documentation
- VS Code Tasks Documentation
- Arduino Programming Fundamentals
Now you’re equipped with the knowledge to supercharge your Arduino development workflow in Visual Studio Code. Start implementing these techniques today and experience the difference in your productivity!
Posted in arduino, microcontroller, Uncategorized
Leave a comment
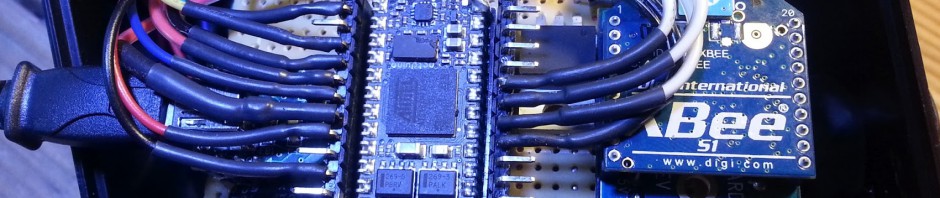
Arduino NFC Validator
A developer friend at work who knew that I worked on Arduinos was asked me if I wanted to build a part for a factory process they were trying to improve.
A friend of his had an Injection Molding company that makes rollers for a Chinese kiosk photo printing machine. The printing machine has to verify that the printer paper is “official” using an NFC chip in the roller. His company makes the injection molded rollers and has to insert the stamped NFC chip. Shown below.
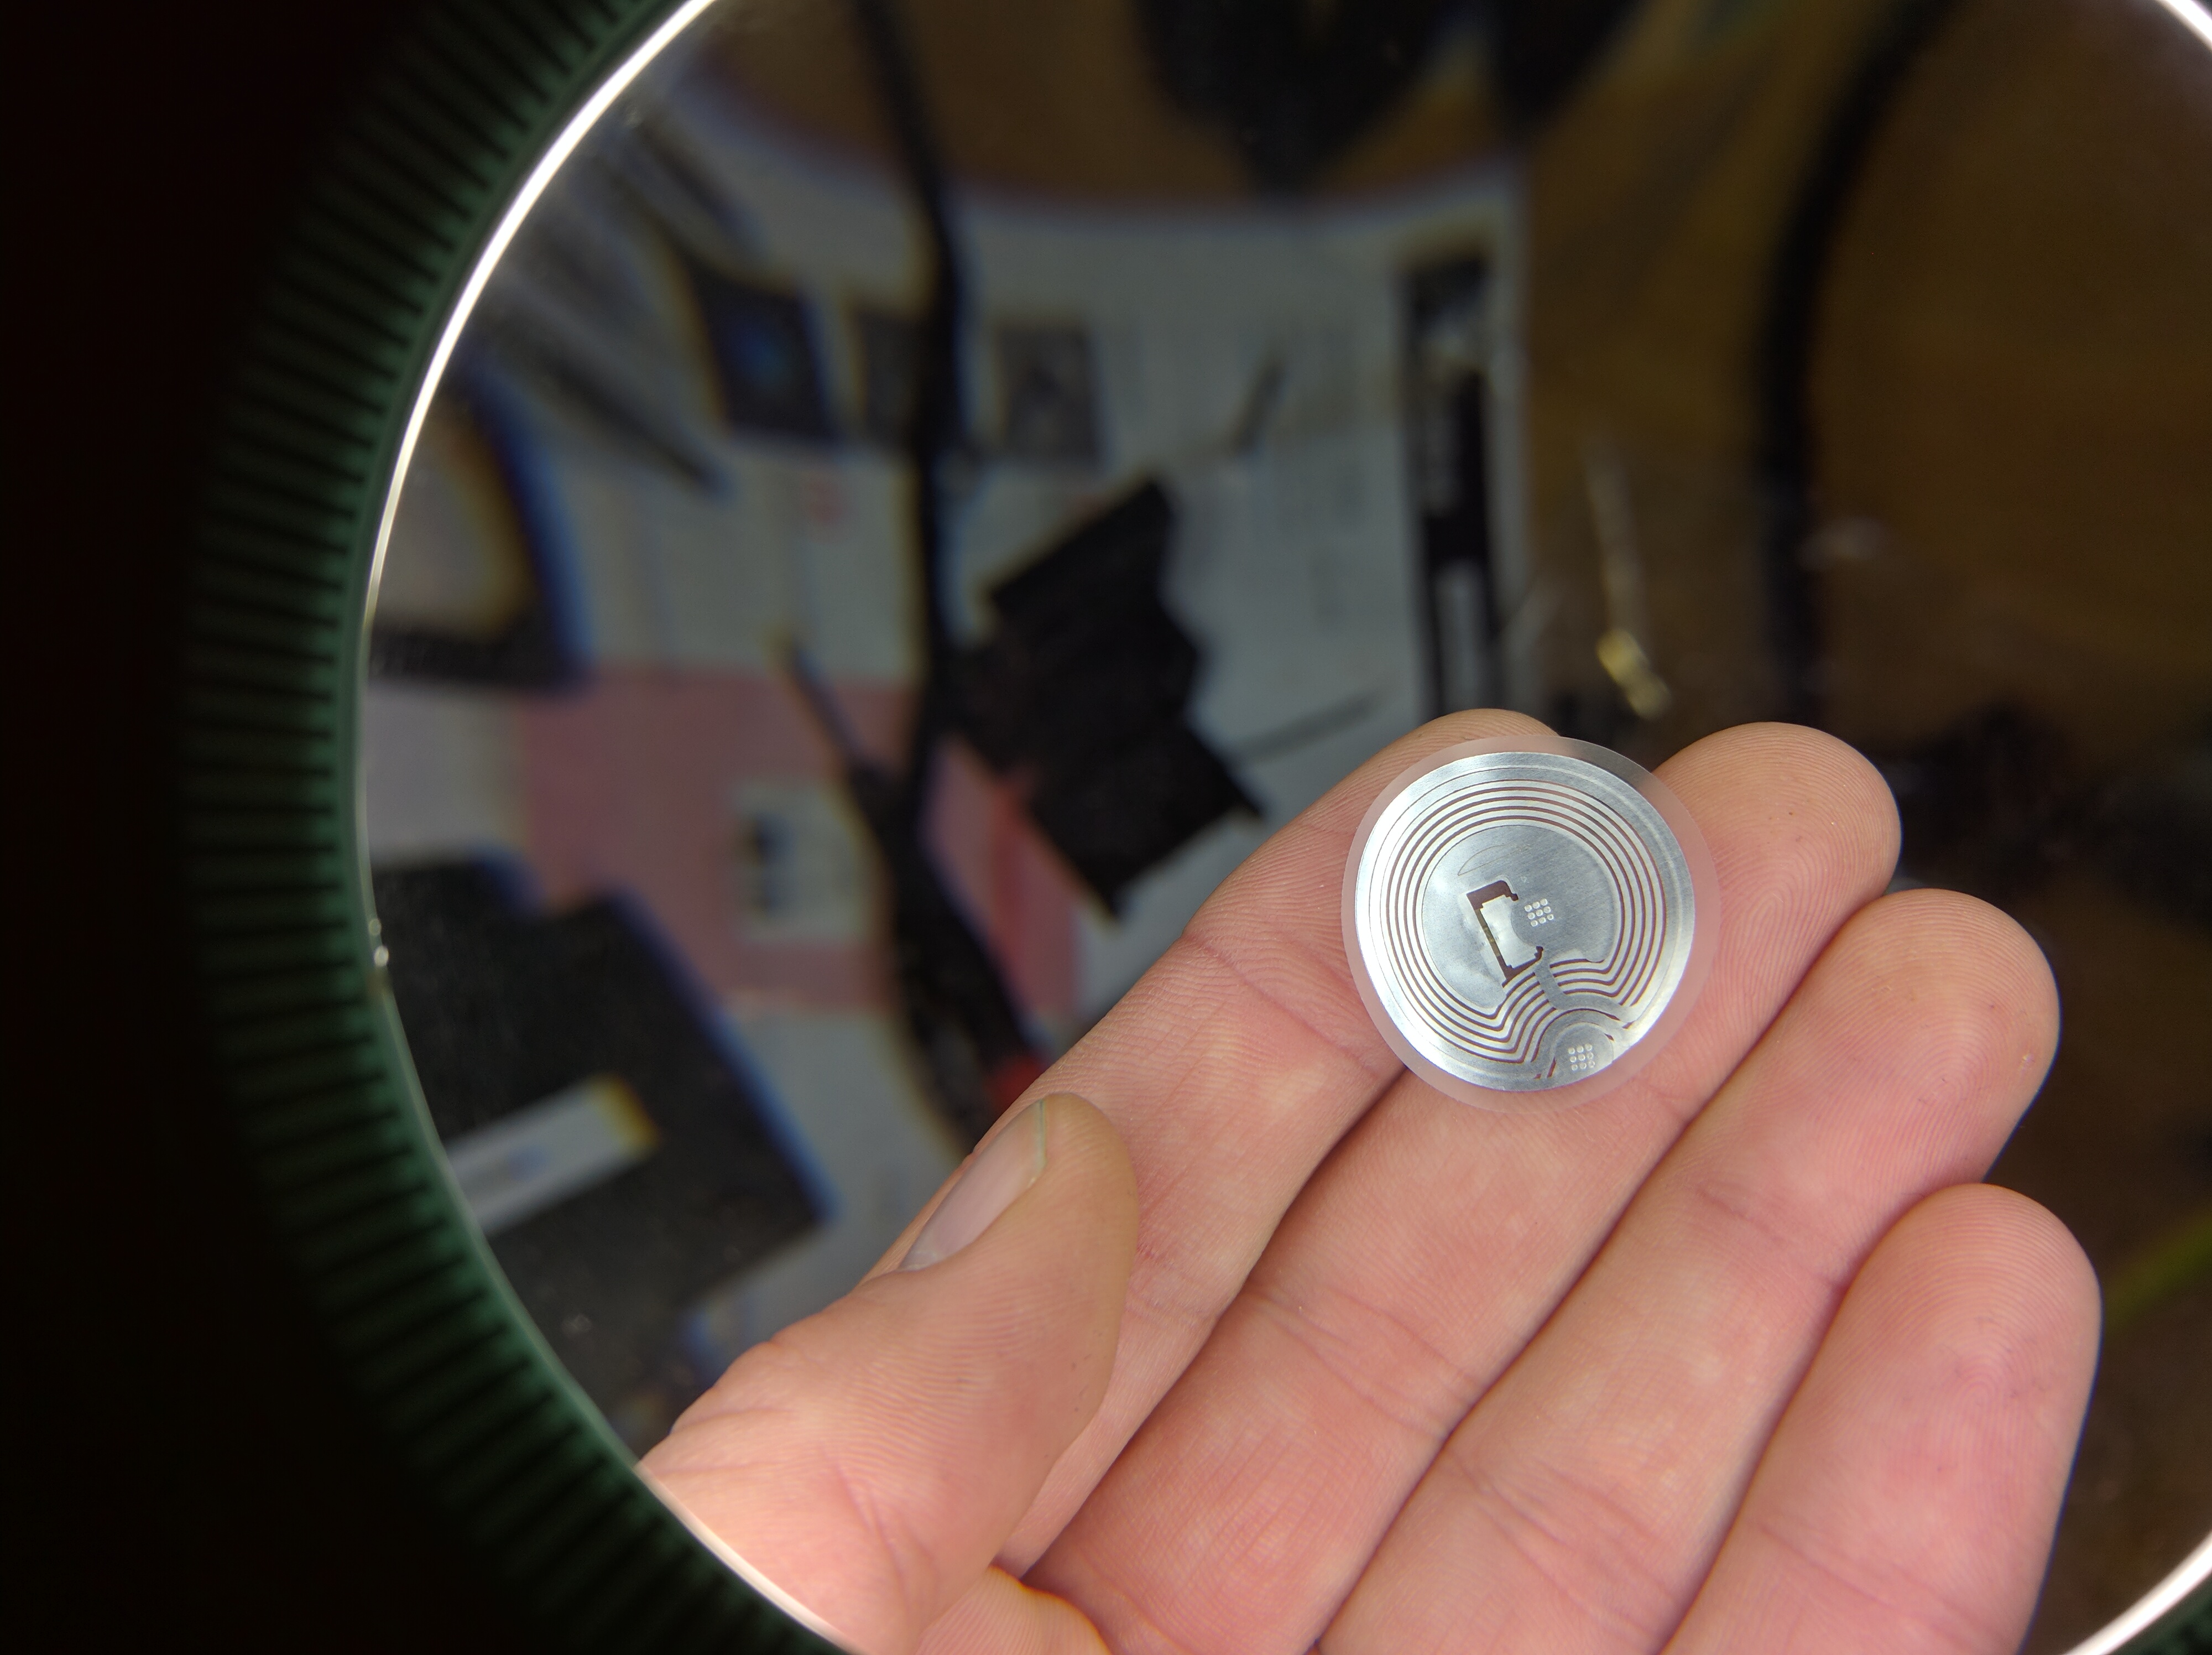
NFC chip that gets inserted

plastic roller containing NFC chip on my home testing rig
He needed a device that can run on the conveyor process that verifies that the NFC chip was installed without being damaged (i.e it still functions as an NFC chip). My first run worked but had a few false negatives (didn’t recognize fast enough for the speed). After a few design reworks, and rethinking the polling, I found a design that worked as an excellent QA device for their process.

the final boards without the 3D printed case
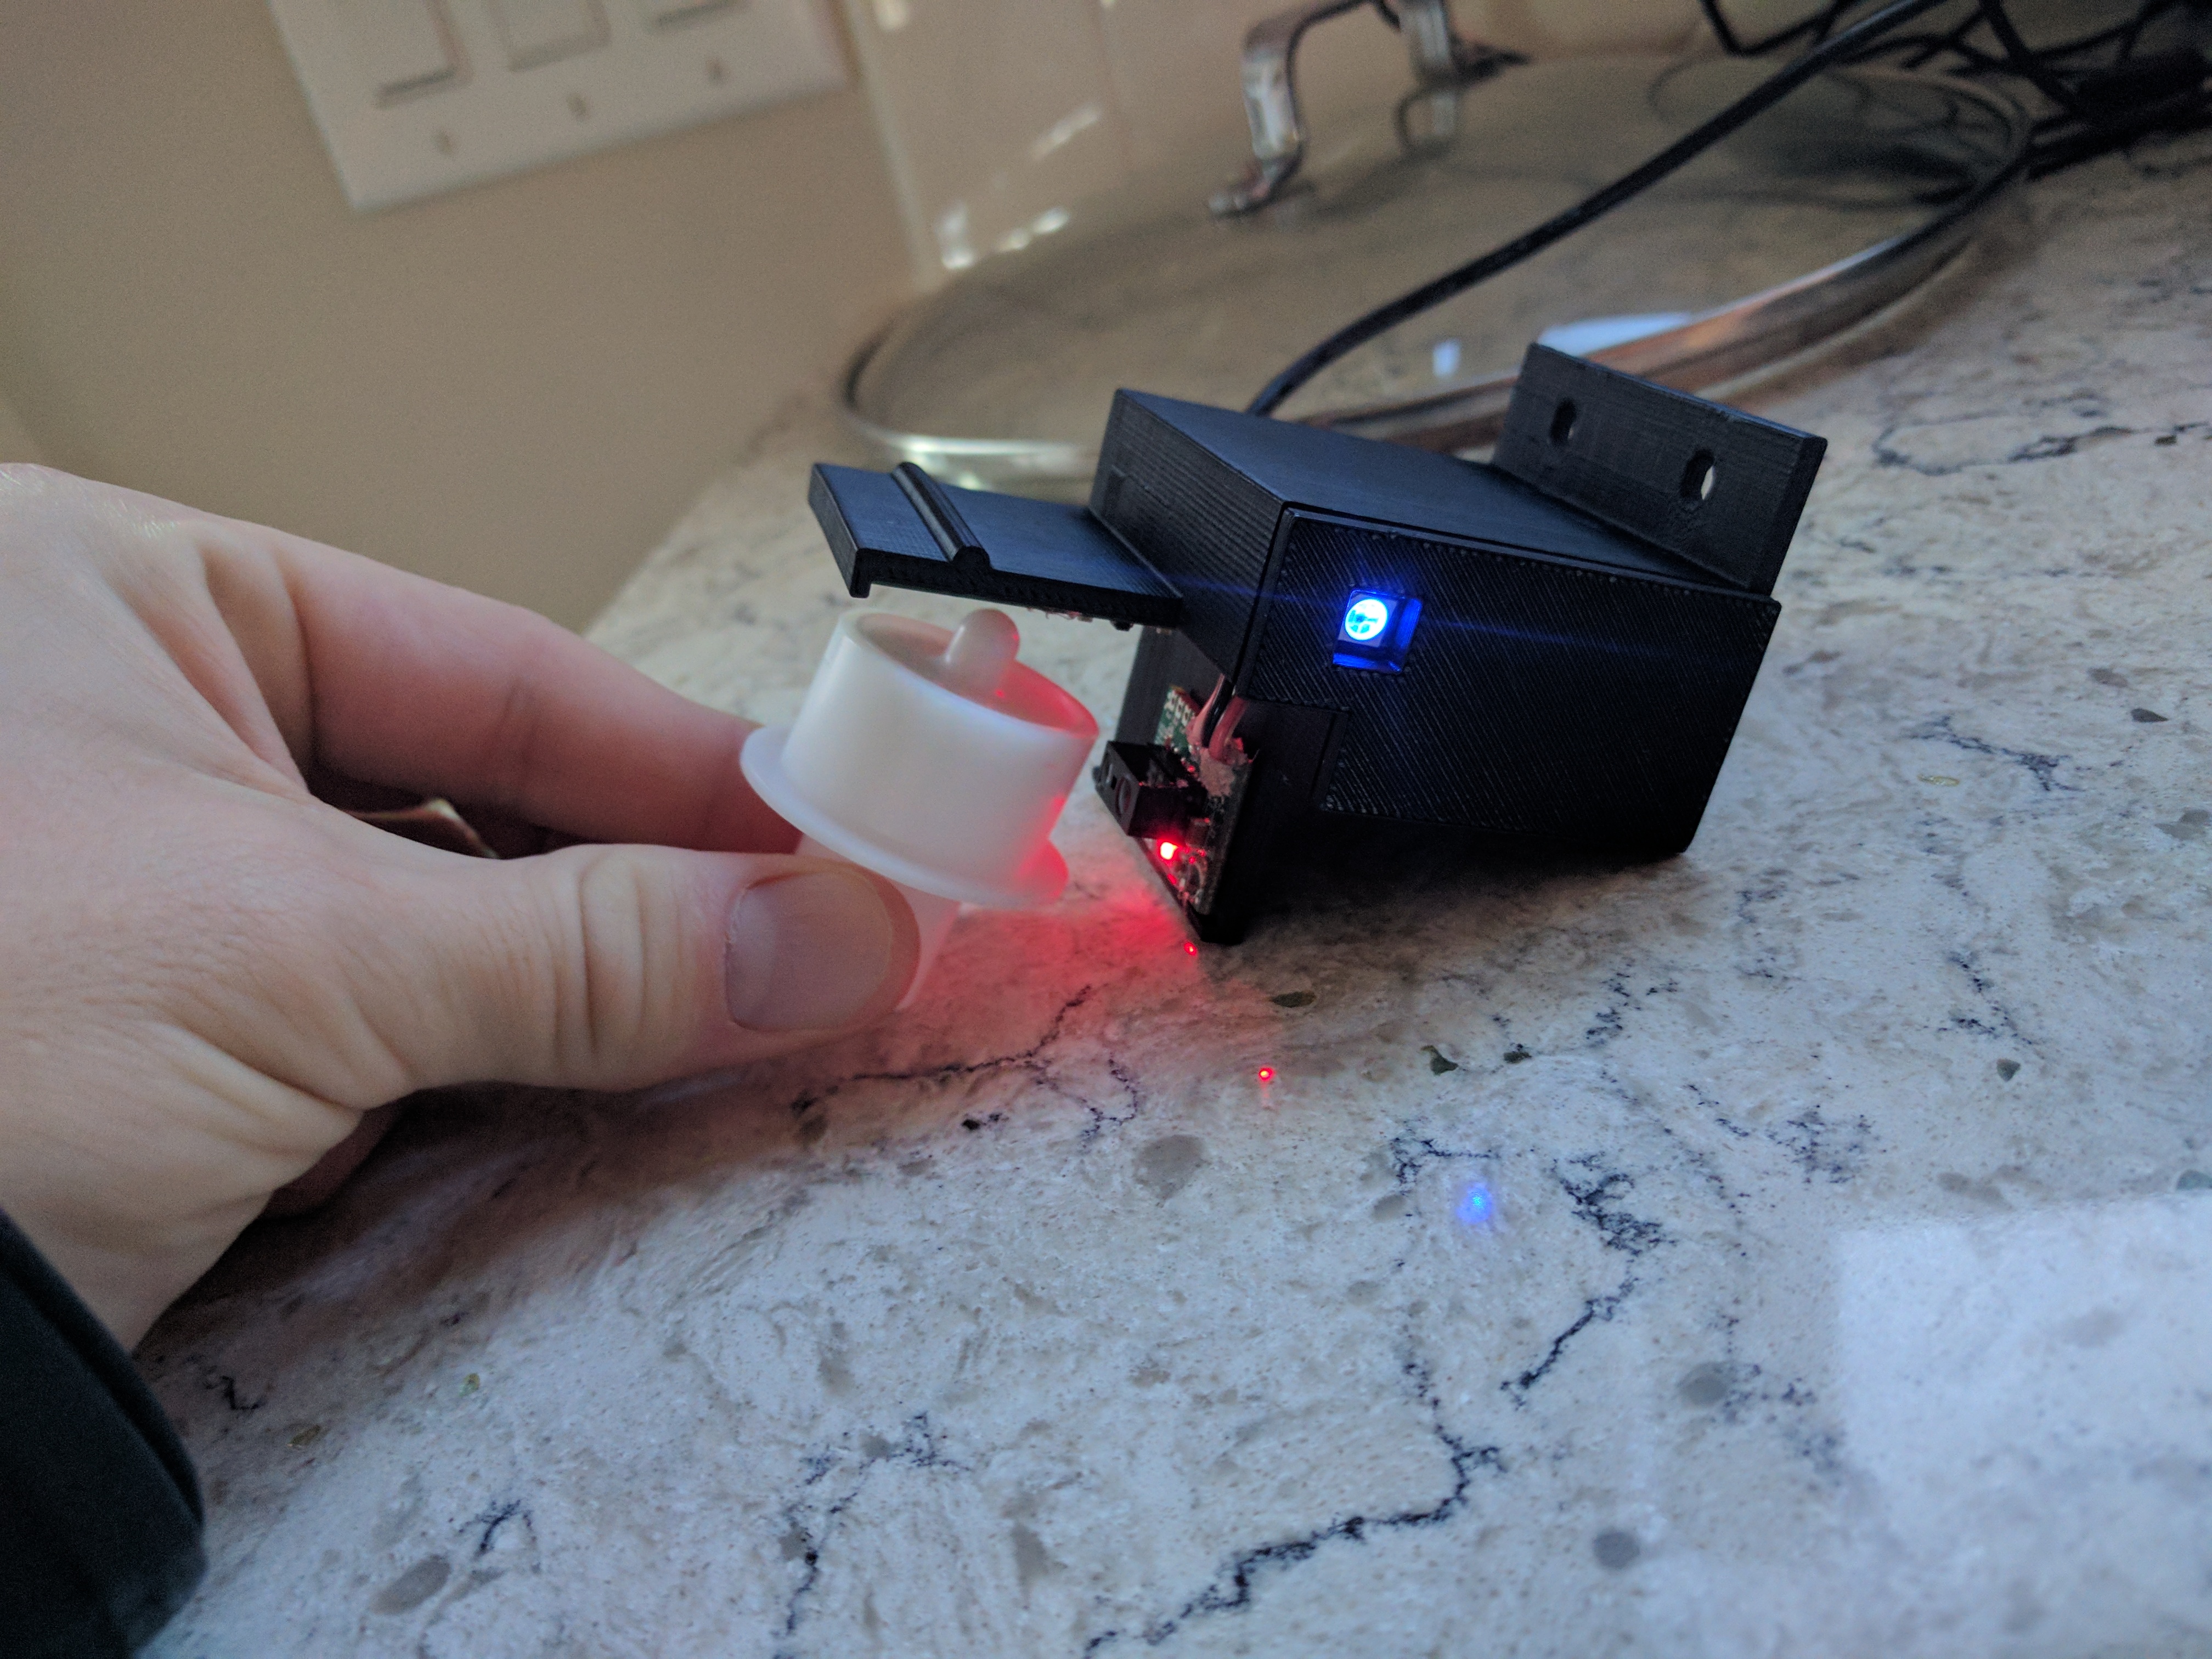
boards in 3D printed case

early prototype

The part is assembled, and an NFC chip is inserted, then it goes on the conveyor. If it passes inspection, the gate is moved by the arduino, it gets counted and placed in a box. If no NFC chip is detected the gate does not move and the part gets forced into the bin with the 3D printed gate. It gets counted as a “reject” by an IR sensor as it drops in the bin and reran later.
Posted in Uncategorized
4 Comments
Sparkcore SmartGarage with OLED and 3D printed case controlled by Pebble Smartwatch
Published a new complete breakdown of using the SparkCore as a “Smart Garage” device. It uses the RESTful interface of the Sparkcore to make AJAX requests on the button press events on a custom Pebble.js application running on my Pebble Steel

SparkCore SmartGarage with 3D pinted case with OLED
Posted in Uncategorized
Leave a comment
ESP8266 with the Arduino Micro
I decided to do a writeup on what I have learned so far on making an IOT device using the ESP8266 and the Arduino Micro. The full blog post with pictures, video and the code on Github is here:
https://contractorwolf.com/esp8266-wifi-arduino-micro/

Carrier board for the Arduino and the ESP8266
Posted in Uncategorized
Leave a comment
Raspberry Pi High Definition Photobooth
Wrote as descriptive post on creating the Raspberry Pi Photobooth project featured on the Adafruit Show & Tell. I also submitted the project to the Make Magazine: Make the Shot Camera Challenge (make sure you vote for me next week)
You can see me on the Adafruit Show & Tell here:
https://www.youtube.com/watch?v=z5RLA1oU8wI&t=11m40s
Posted in Uncategorized
Leave a comment
