Here is the album of pictures it took at the wedding:
http://www.flickr.com/photos/105905898@N08/sets/72157636692777925/

My travelling photo booth, the complete kit. I planned on borrowing one of her brothers 20 inch computer monitors so I could avoid the weight of having to pack one in checked luggage on my way to Poland. Getting one there saved a lot of weight issues and made sure that I could easily plu in a monitor that already had the European plug.
Previous versions of the Project
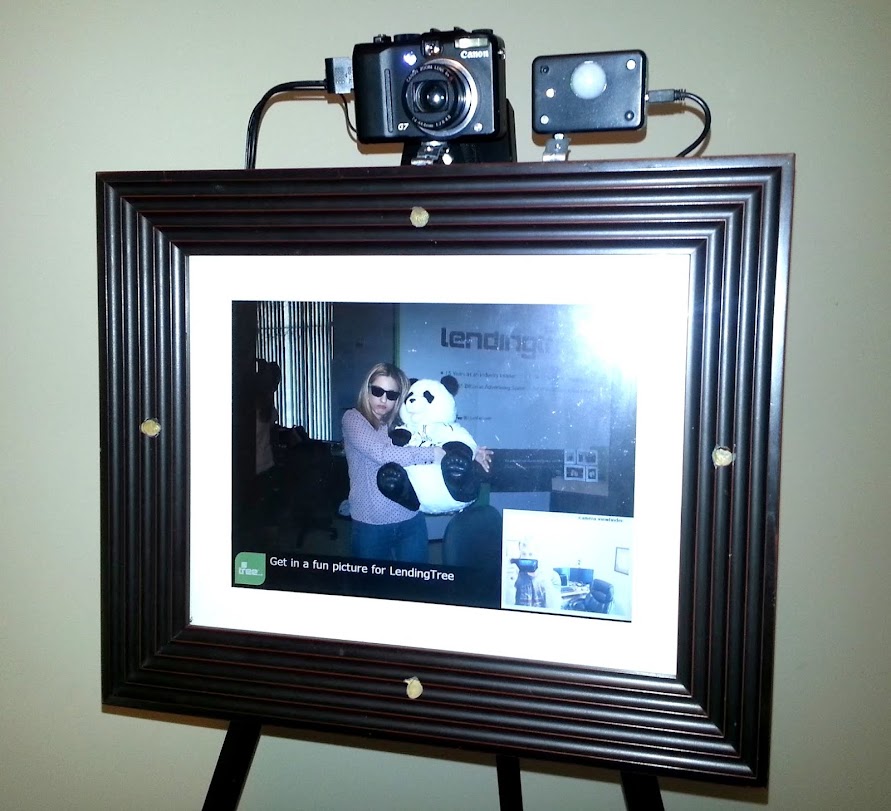 Photo-Frame Photo-Booth using an old laptop and the Canon SDK
I am getting married in Poland in October and needed to build a Photo Booth for the wedding. The main requirements are that it must take a high definition picture, must be wireless with a way to find easily, and it must be simple enough that the concepts translate easily to Polish. Right now it is a simple hand-held controller with just 2 well-lit buttons that perform the 2 functions: 1. Take a photo. 2. Display the last photo taken.

stripped-down laptop in an extra deep custom frame
The frame itself is an older laptop running windows XP. It has a simple WinForm app written in C# that I wrote that displays the view-port image from the camera. It has the Canon SDK that you have to request from this link:
http://www.usa.canon.com/cusa/consumer/standard_display/sdk_homepage
You have to register with them and they offer no support, but I was able to get it to work after I found this article describing a wrapper that you could use to interact with the SDK in C#:
http://www.codeproject.com/Articles/17344/A-wrapper-for-the-canon-CDSDK-and-PRSDK-for-remote
Here is the wood frame without the laptop. You can see how I added more boards to the back and painted them.
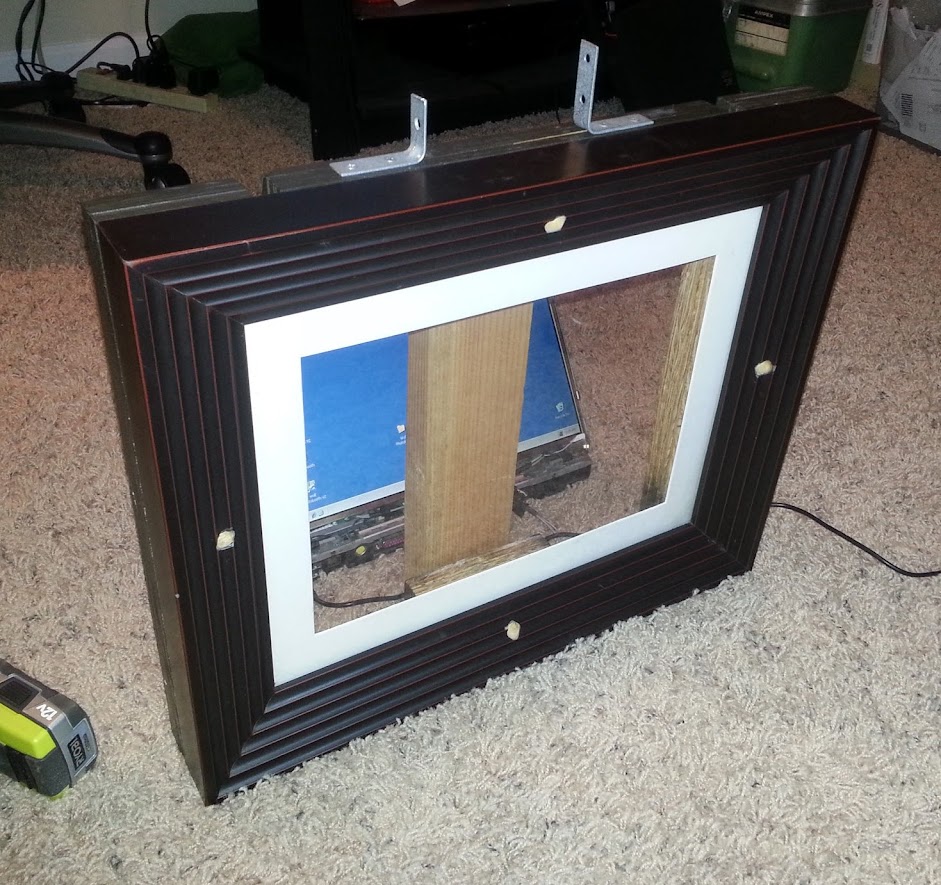
wood frame
The laptop is thick and that thickness needs to be added to the frame so that it looks nice.
When the “take photo” button is pressed the camera aims using the green light and takes a photo. After a photo is taken the high definition image is displayed for ten seconds before switching the view back to the view-port image. The side button will show the last image taken for review at any time. Here is what the controller looks like:

2 Button Controller, the large blue LED square button is the main button and causes the camera to aim and take a picture. The black side button is the “review” button. Pressing the black button will display the last image taken.
The controller is made by cutting PVC piping and adding the Adafruit button that wires in to a wireless presentation mouse I found on Amazon. The square blue LED button is available here from Adafuit:
https://www.adafruit.com/products/491
 Square LED button
And the presentation mouse is here:
http://www.amazon.com/HDE-Wireless-Presentation-Remote-Clicker/dp/B0026PDWNY
This is me demoing its functionality on the Adafruit “Show & Tell” weekly series (my demo goes from 4:17-9:00 on the video):
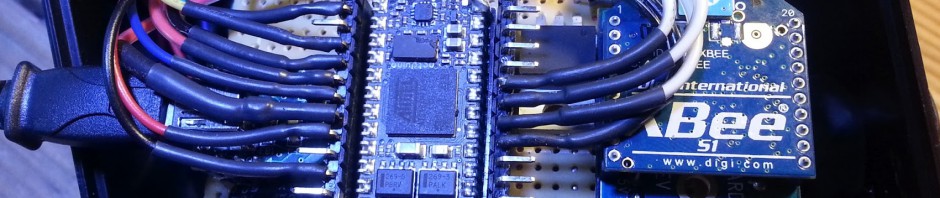
Still have a few ideas I want to work into it. Mainly I am planning on adding an Arduino that will pay attention to a PIR sensor and switch between running in photo-frame mode just displaying the images that have been taken show to showing the view-port when there are people in front of it. Feel free to leave comments, questions or feedback.

Pingback: Added new Photo Booth page showing current prototype | Fuzzy Logic Robots