My wife asked me if I could make a “decision maker” using an Arduino that could operate along the lines of the old “magic eight ball” toy from the 80’s. A colleague of hers at work had mentioned that someone had done a similar project using an Arduino, and she wanted to know if I could do it. She notorious for apprehension to making quick decisions, so I thought this would be an easy project, so I took on the challenge.
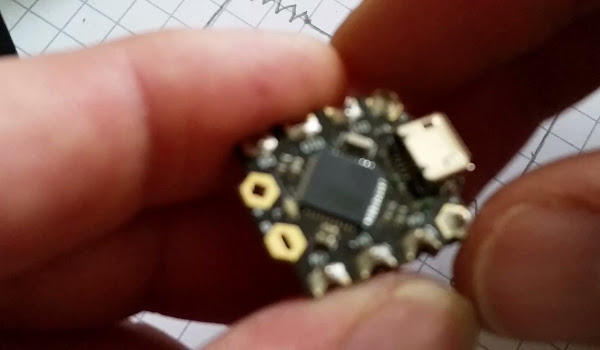
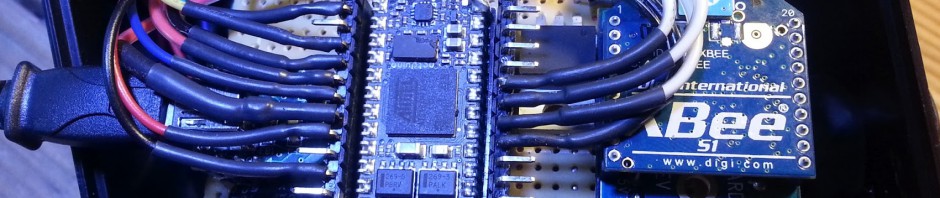
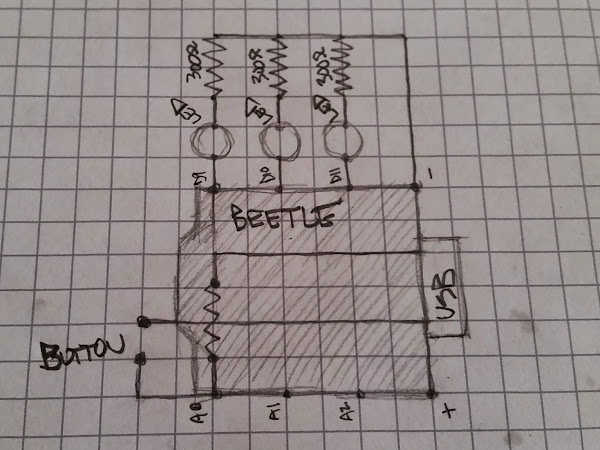
I had a few Arduino “Beetles” (from DFRobot.com) that I had bought on a whim, and I knew this would be a perfect use for the tiny (and cheap) version of the Arduino. The Beetle uses the ATmega32U4 (the Leonardo chip) which has onboard USB, 3 digital and 3 analog pins that are easy to access (plus UART and I2c pads). I used the 3 digital pins to control the LED’s and one analog pin to listen for the button being pressed. The analog pin also had a pulldown resistor so that it wasn’t “floating”.
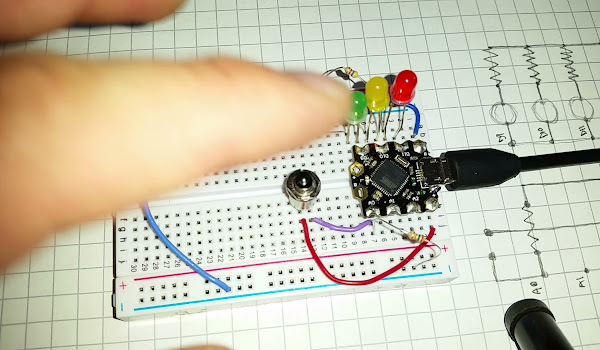
I first tested the idea out on a breadboard to work out the wiring:
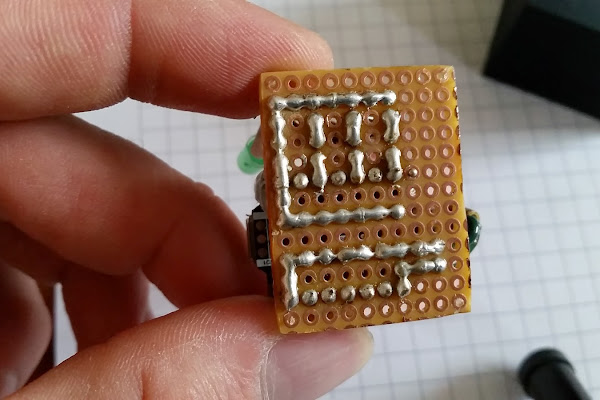
Then I drew up a simple PCB design that would work on the single sided PCB protoboard:
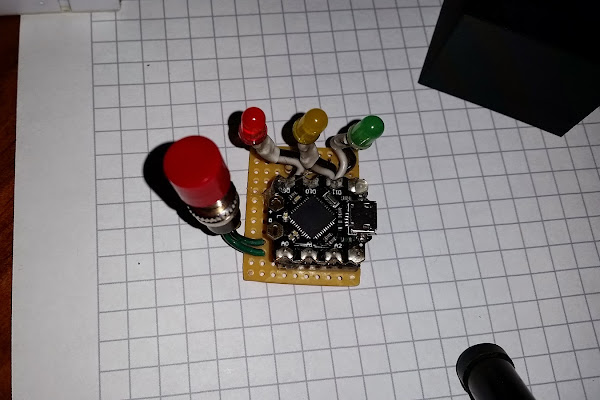
Then I soldered all the parts onto a small piece of protoboard. I wanted to make it as small as possible and then put it into a tiny 3D printed enclosure with just the LED’s, the button, and the USB cable sticking out. Here is what the components looked like after soldering was complete:
The code for this project is super simple. The main loop is just regularly polling the value on the analog pin, when it sees the pin go above its threshold it starts cycling the LEDs. They flash on and off for a random amount of times and then one of them stays on. The LED’s are green (meaning the decision is “yes”), yellow (“maybe”), and red (meaning “no”).
The code file is available here:
DecisionMaker.ino
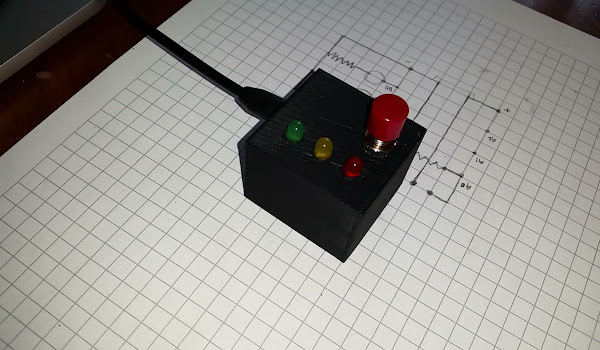
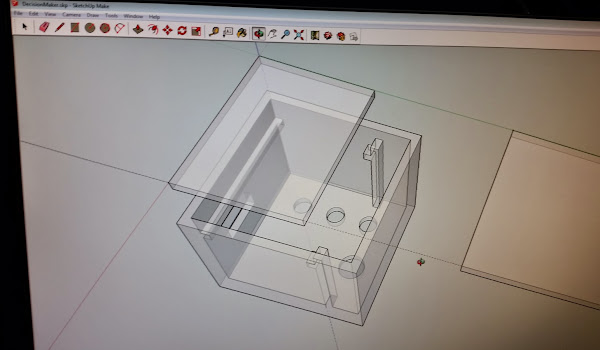
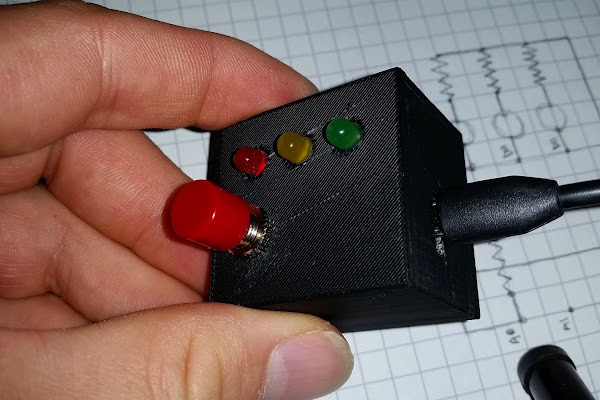
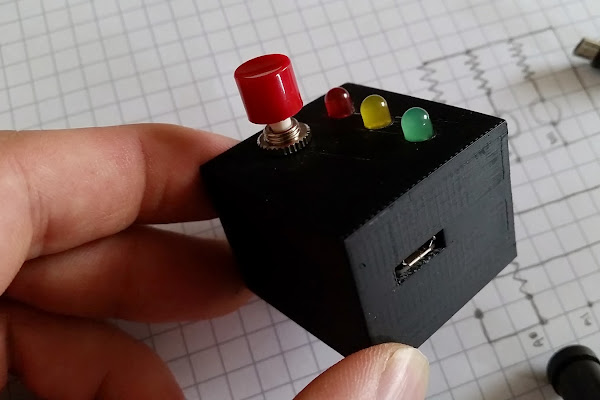
The last step was to design and 3D print a small enclosure for the components. I took measurements of the protoboard and designed a small enclosure in SketchUp. It needed to fit the USB port on the side (for power and programming), the 3 LED’s and the button.
You can download the Sketchup file and print it yourself:
DecisionMaker.skp
Finally I just had to put it all together and test it. The box has 2 pieces, the top that has 5 sides and the bottom piece which compression fits in and makes the complete six sided cube. Feeding the LED’s and the button was a little tight, but (I think) the results are pretty sharp.

Pingback: Urządzenie do podejmowania decyzji na Arduino – Nettigo Blog