
For my first project after getting the Raspberry Pi ($35 Linux computer) I wanted to extend on a very good blog post I read from MightyOhm about turning a cheap Wifi router into an internet radio:
http://mightyohm.com/blog/2008/10/building-a-wifi-radio-part-1-introduction/
In that article he also had a cheap Linux device (the router) and was able to stretch it to be a mucic machine. I had no previous experience with Linux, always used and programmed on Windows machines. So I wasn’t sure what to expect when my Raspberry Pi finally arrived. After some initial hickups, I was able to get the device running:
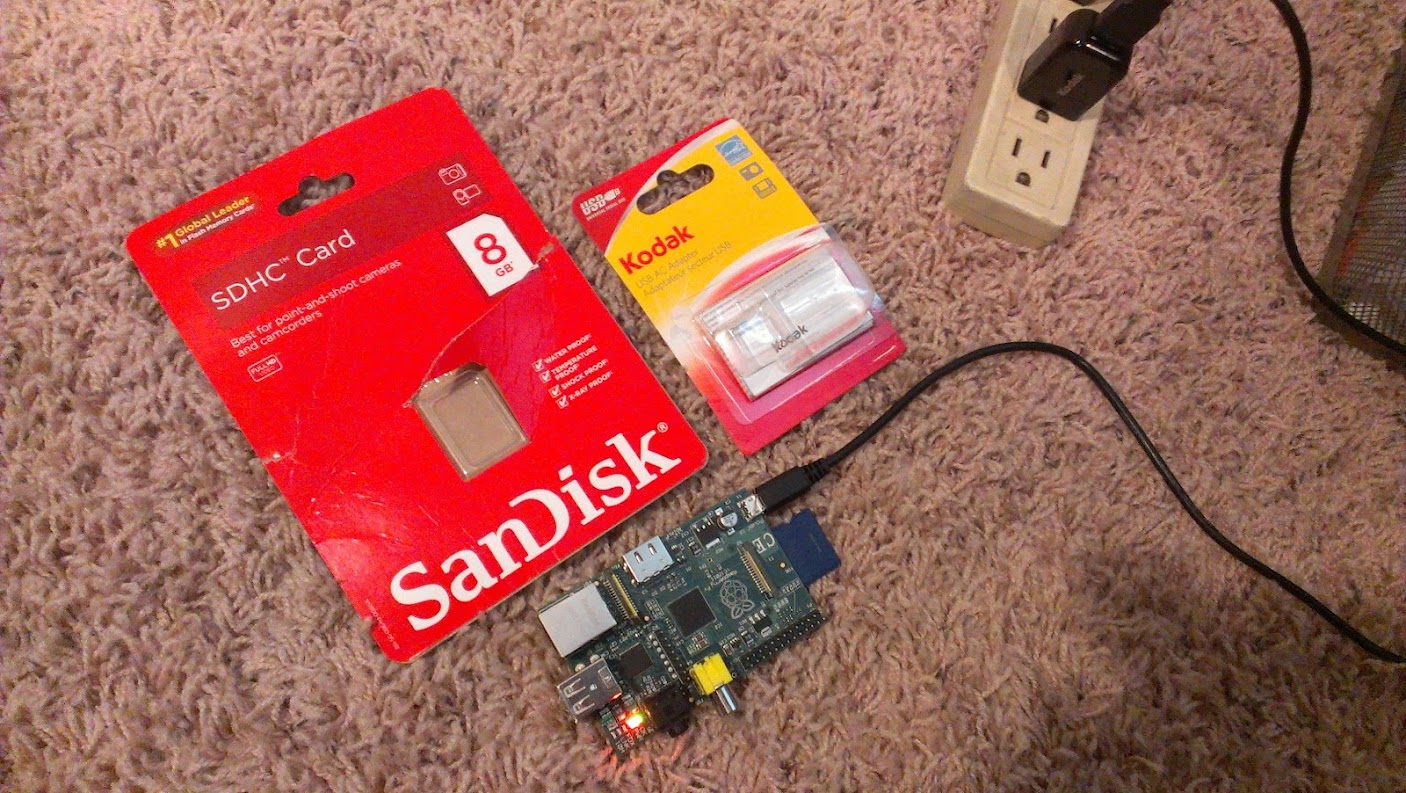
I installed MPD, MPC, and SSH on it so that it could be a headless (meaning no monitor) device. Linux has been an experience, its entirely to cryptic for my taste, too many blind alleys to get stuck down. I was able to get it to install a tiny nano Wifi and wrote a small python program that hold a list of internet radio streams (and executed MPC commands).
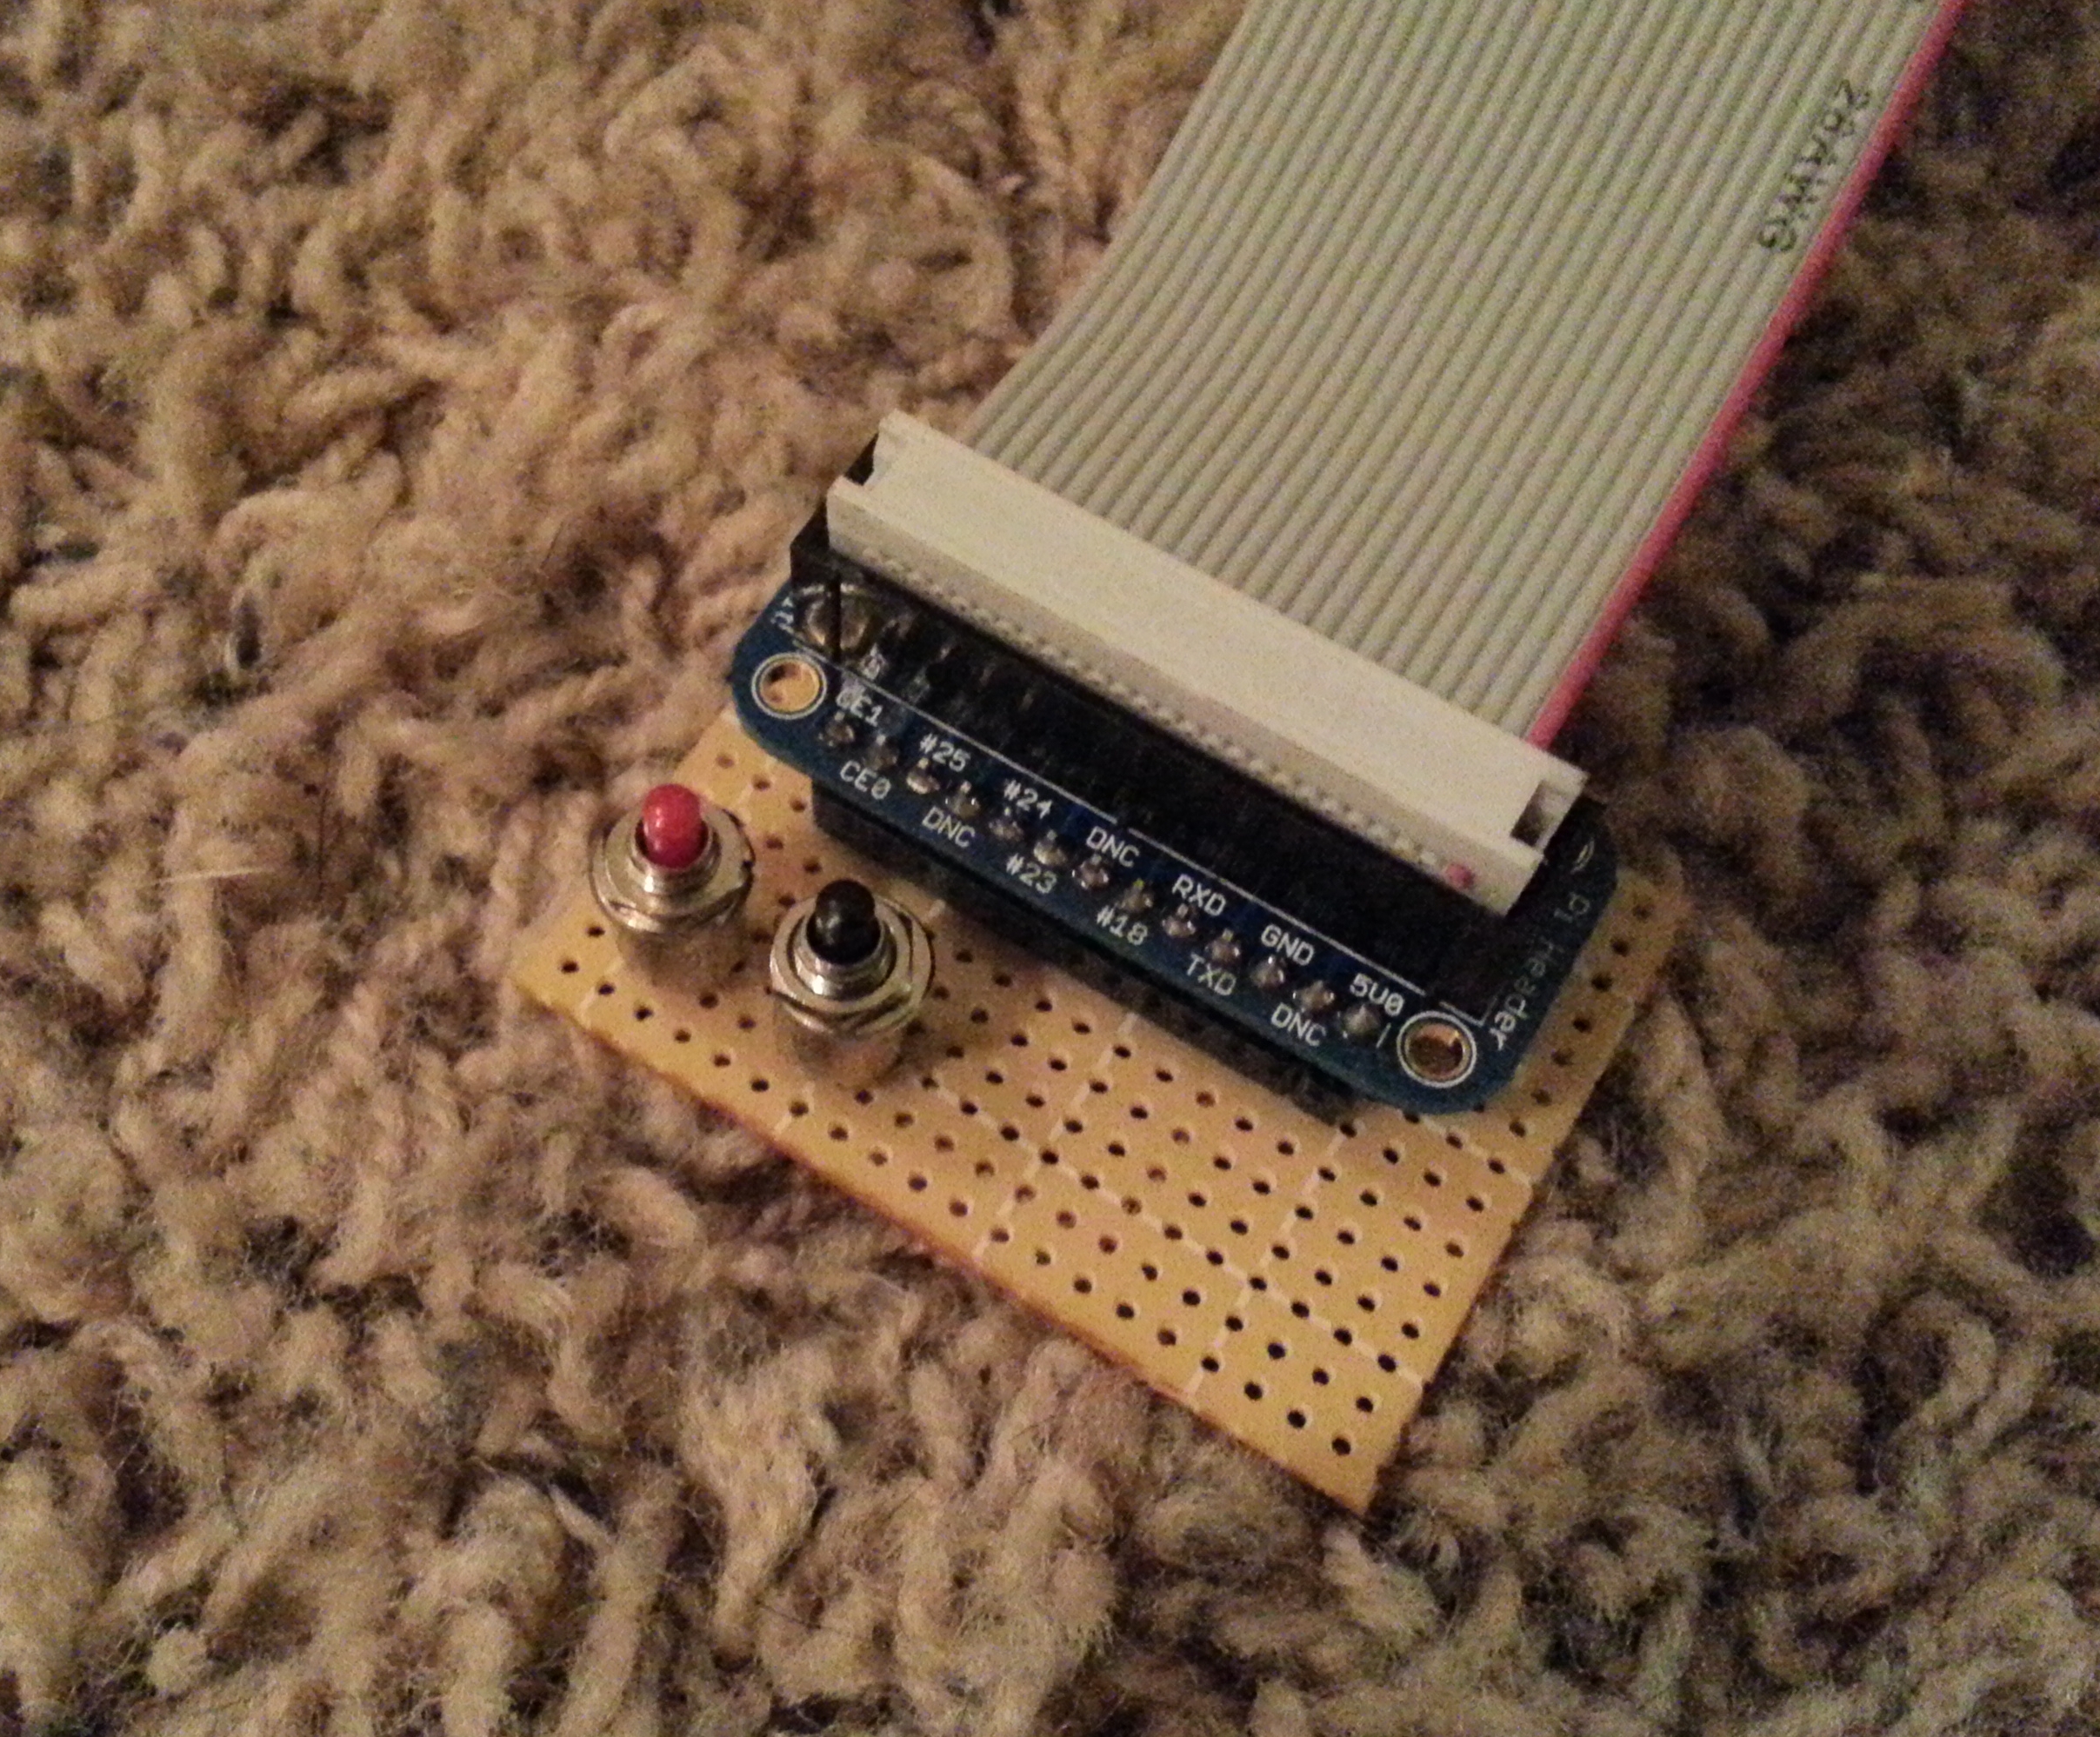
I control which stream the player is listening to using the Adafruit Cobbler to breakout the pins so that the python program is just listening for button presses. When the button is pressed the player moves on to the next stream in the list. I can SSH (remote command line access) into the Raspberry Pi using Putty on my PC and edit the list as much as I want remotely (I even have an SSH access as an app on my phone). Here it is in action:
These links are the documentation for how to setup and run the Raspberry Pi as a Wifi Internet Radio:
The Raspberry Pi and where to buy it
The book “Getting Started with Raspberry Pi”
How to setup SSH on the Raspberry Pi
Edimax nano USB Wifi that worked great for me on the Raspberry Pi
Easy setup instruction for Edimax EW-7811Un Wifi
Adafruit instruction for buttons with the Pi Cobbler
Setting up MPD and MPC
(not original link, but this should get you there, if not see this for the archive.org version from a year ago)
Adding items to your MPC playlist – look under “installing mpd”
Streaming radio lists – the .pls have to be downloaded and opened in a text editor for the “http//” items to add to MPC
Here is the python file:
radio.py
you will need to call “sudo python radio.py” to run it (as well as have Python installed)
Here is the instructions on how I created the radio station list:
Radio Station List – includes 20 stations, just run this command “sudo mpc save mine” to save the list as the “mine” playlist used by the radio.py file
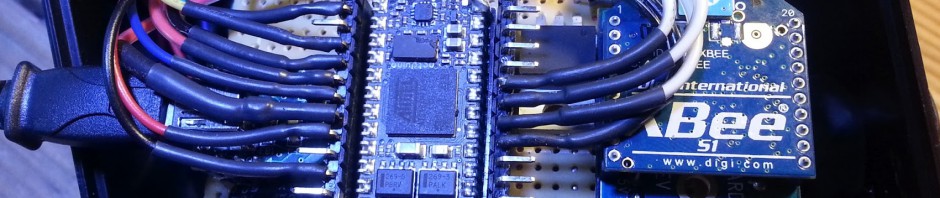
here are some of the recent hardware choices:


Here is the latest video going over all the parts I am using to make this happen. You certainly don’t need all of these to get it to work, but the upgrades do make it very interesting 🙂

this makes it very easy to add stations to the list or even adjust volume levels remotely

Pingback: Raspberry Pi Wifi Internet Radio Player – #piday #raspberrypi @Raspberry_Pi « adafruit industries blog
what breadboard are you using for the buttons? I looked on Adafruit but I dont see the one your using? will any board work?
Any board will work as long as you are paying attention to the traces below (because some boards have traces already). I like to use the boards from radioshack that have only pads and no traces for projects that are simple like these. I try and use the ones with the square pads and bridge them with solder to create the traces I need. For longer traces I tend to cut some legs from resistors to makes the solder stretch better. Any proto-board would work though, just go with whatever makes most sense to you.
maybe you want to try to keep your board off of carpet. Otherwise, you risk the chance of bricking your Raspberry Pi. Google ESD protection and you’ll find a plethora of information on how to safely handle electronics.
Its in a case now, I didn’t have a wired connection in my home office so I had to plug it into the router hence the uncomfortable setup here. Had the monitor and keyboard on the floor as well just to download the drivers for the Wifi.
Do You have any better instructions for adding the radio list? I just can`t get it work properly. (the file “sudo mpc mine” is a text file or python file?
Greg,
ok, id love to help!
mpc is a client that runs on the device and should be installed if you followed my directions carefully. go here for instructions on installing it:
http://miro.oorganica.com/raspberry-pi-mpd/
once it is up and working you can add playlist items to it by executing this command on the command line (all interaction with it is done through the command line):
sudo mpc add http://relay3.slayradio.org:8000/
(this will add the slayradio stream to your playlist.)
once you have added all the stations you will need to save it so that you can access it by name later. to save the playlist (after you have added all the stations you want) execute this command:
sudo mpc save mine
saves the playlist under the name “mine” (give it any name you want, i used: mine). you can then later load that saved playlist by executing this command:
sudo mpc load mine
then you can play an item from your list like this:
sudo mpc play 1
(plays the first item on the list)
look at the other mpc commands here:
http://linux.die.net/man/1/mpc
Let me know how it goes. Send me info on what you are trying and how far through the instructions you have moved. You might want to send me pics too if you are trying to put buttons on it.
Pingback: Wifi radio | Massif Software
Pingback: Raspberry Pi Wifi radio #piday #raspberrypi @Raspberry_Pi « adafruit industries blog
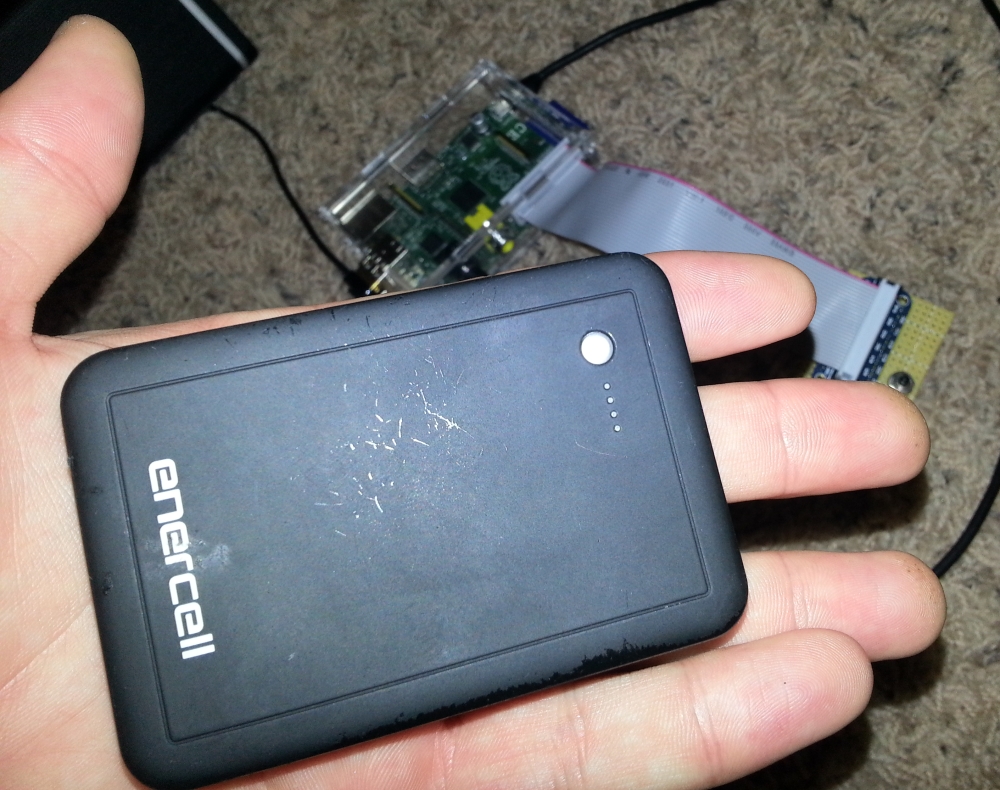
Found you blog from the RaspberryPi website. They mention you found “a nice little battery you can use to charge a micro USB device which he found at Radioshack (his Pi runs for a couple of hours on it)”. Can you post a link to that? Thanks!
Here is the USB battery that I use: http://www.radioshack.com/product/index.jsp?productId=13072382
Its great, it can charge a cell phone from completely dead to 100% in ~30 minutes and I use it to have a wireless battery powered RPi and as a power source for my Netduino projects as well (they take a USB power supply quite nicely!). They have a few different ones (an even a smaller one) but I like this one the best since it takes USB in and out.
The RS link does not work. Could you post a new one, please.
RS link? I think I fixed all the links, but let me know if there are still ones not working
sorry Chris, actually radioshack no longer carries that battery but this one is actually better (I use it as well):
Got it – Thanks!
Hello,
It looks from the photo that you have a bluetooth keyboard connected to the Rpi. I got one almost like that today and I can’t get it to work. Would you have any pointers for bluetooth keyboard and mouse on the Rpi? Thanks.
I don’t think that mine is bluetooth. It came with a little nano USB receiver and worked as soon as I plugged it in, no configuration necessary.
Could you post link to source of that little keyboard please.
If it plays nice with RaspberryPi & price is right I could be up for one of them.
$28 right now
I finally got it to work. This is the keyboard I got http://www.amazon.com/Anker-OrientEX-Bluetooth-Handheld-Multi-Touchpad/dp/B005C6CVAE/ref=pd_cp_e_1 I wanted bluetooth because I also want to use it on Android.
Thanks for swift response. I’ll be checking them both out.
Sweet project BTW, guess I’ll be ordering ANOTHER Rpi.! 🙂
Hey, I found a tutorial explaining how to use Wifi through GPIO. Have you tried that? http://www.cooking-hacks.com/index.php/documentation/tutorials/wifi-module-for-raspberry-pi-roving-rn-xvee
um, I already get great wifi through the USB nano device I use, I wouldnt prefer to do it by hand. I am sure its possible but not very practical since the Wifi Nano USB module was only $9.
Great project.
I got my RPi to play wma format streams via mpd/mpc by using ffmpeg:
sudo apt-get install ffmpeg
Then changed the audio_output section in /etc/mpd.conf to use encoder “ffmpeg”:
audio_output {
type “alsa”
name “My ALSA Device”
device “hw:0,0” # optional
format “44100:16:2” # optional
mixer_device “default” # optional
mixer_control “PCM” # optional
mixer_index “0” # optional
encoder “ffmpeg”
}
Restart mpd and then add the URL to mpc as usual:
mpc add [URL]
mpc play
I have a wma2 but don’t work
Tk
I am not sure what that means, can you elaborate?
Pingback: Guest blog #2: Near field communication by Donatien Garnier | Massif Software
Pingback: ทำ Wi-Fi Internet Radio ด้วย Raspberry Pi | Raspberry Pi Thailand
Pingback: » Linuxaria – Everything about GNU/Linux and Open source Raspberry Pi what is the secret of his success and what are its potential
Pingback: Eine eigene Cloud auf Himbeerbasis « Hatori Kibble
Pingback: Credit-Card Size Computer for $35 « California Online High School
Pingback: raspberry wifi internet radio | Jakob'll Fix It!
Very nice work!
But still wondering how you managed to execute the python-script on startup…?!
Thanks in advance and best regards.
I found this: http://www.linuxquestions.org/questions/linux-newbie-8/how-do-i-run-a-command-at-every-boot-521372/
and put the radio.py in the /etc/rc.local file and it runs on it boot. Means all I have to do is plug it in and 1 minute later its all up and running. I’m not a linux guy, I just keep googling until I found something that worked. Comment if that works for you.
Thx for your quick reply.
Tried your mentioned solution but getting this error-log:
decoder_thread: curl failed: Couldn’t resolve host
When executing
mpc play
It works…?!
I think what you are missing is the list item indicator. The full command should be something like this:
mpc play 1
The couldn’t resolve host usually means that it couldn’t find the address you provided. Either that or you don’t have a music station list, make sure you re-read all the steps and have everything.
Pingback: Turn a Raspberry Pi Into an AirPlay Receiver for Streaming Music in Your Living Room
Pingback: Turn A Raspberry Pi Into An AirPlay Receiver For Streaming Music | Lifehacker Australia
Pingback: Turn a Raspberry Pi Into an AirPlay Receiver for Streaming Music in … | Acoustic Environments
Pingback: Framboise sonore | Carnet
Hi
I wanted to report the solution to my described problem:
For I am using an external USB-soundcard I commented “snd_bcm2835” in /etc/modules and modified “mpd.conf” as pulse-audio-output instead of ALSA.
Now everything works fine.
Best regards
excellent!
can you give everyone more details? the usage of the USB soundcard is a great way to up the sound quality. Which one are you using and can you post the edits you did to mpd.config?
I got this site from my pal who informed me regarding this site and at the
moment this time I am browsing this web page and reading very
informative articles or reviews at this place.
I like it when people get together and share ideas. Great
blog, keep it up!
As a site owner. Do you truly feel like owning a web-site or blog site is profitable?
Also how can you get visitors to visit your website or blog?
I do not do this site for profit (I make no money from it). The reason I post here is to document the projects I am working on to help others that may be working on similar projects or technologies. Hopefully my notes or diagrams will help them get past any roadblocks that they may be hitting, or inspire them to try new ideas. I get visitors by posting my projects to G+ communities and in my own circles of people who also work on Arduino or Raspberry Pi types of projects.
I really like your article. I just bought my first Raspberry Pi and I’m trying to play mms://eemsscan.dyndns.org:1877. This doesn’t work. The error message is: ERROR: problems decoding *mms://eemsscan.dyndns.org:1877/* When I try mms://196.35.64.36/highveld_22/ all works fine. What am I doing wrong? Can you help me out?
I think that URL is just wrong, where did you get it?
I got it from this page http://members.home.nl/aef/Tablet.html
It works fine on my pc running Windows 7. Could the problem be that it is a WMA-file? (I’m not sure it is a WMA-file though.)
Yeah, I am not sure of the different kinds of streams that MPD can play, all the ones that I used were all streams that could be used over HTTP, I didnt do anything that was using MMS. Take a look at my notes on getting streams from Shoutcast.com and there are more notes down in the comments.
Will any bluetooth speaker work with this setup?
This is directly connected to the speaker, not using bluetooth (I know you can but ran out of USB slots) its just directly connected with a headphone type of cable to the Supertooth input.
Hi there
link http://miro.oorganica.com/raspberry-pi-mpd/ is broken
Yeah thank Tony, that link just went dark so I switched it to another description of how to do MPD and MPC from the raspberrypi.org site instead. Let me know if you dont think that is clear enough.
Hello there, I was very excited to see your project and would very much like to do it. I am a bit scared of Linux. Also I find that most of the links in this page do not work. Where do you get MPD and MPC files? How did you connect USB wifi Edimax nano with Pi? What software is needed to load into Pi to recognize USB wifi? If you can help me out, I will be very thankful,
Thanks again,
Victor
Victor, no worries, I was afraid of Linux too, but there are plenty of people out there talking about exactly the same issues and willing to help. I fixed the broken links so that should help. Did you buy a Raspberry Pi yet or are you just looking at it? You dont need MPD and MPC files, just look at the link (that I fixed) and you will see how to install it on Linux, its pretty easy and just requires and internet connection. I also have info in the links above on where to get the USB Wifi, and how to install it on the RPi.
Thanks for your kind encouragement. I see that in your second video from the top, you mention that you can control the internet radio from your cell phone assuming that they both are in the same network. How did you do that? Can you please explain more? Thanks, Victor
Sure thing Victor, glad you are making use of it. I am controlling the radio by using SSH to execute MPC commands (see screenshot of my phone above). After you SSH into the device (using your phone) you can execute any of the MPC commands here to do things like change the station or volume, etc:
http://linux.die.net/man/1/mpc
On android there are several SSH apps, I was using the ConnectBot that you can get here:
https://play.google.com/store/apps/details?id=org.connectbot
I am sure there are similar ones for the IPhone, hope that helps!
Thanks a lot. I still have one question. How do I get mpd and mpc and install them into pi? Since they seem to be for standard linux and not optimized for pi, is there a danger that they will consume too many cpu cycles? I am also trying a write a gui code with python that will receive commands from android and do appropriately instead of using buttons. Can you show me how do this? I got pi and got it to working. But learning python is still a week long project it seems.
to install mpd and mpc just look at my instruction link above, but basically just execute this:
sudo apt-get install mpd mpc
they work just fine on the RPi
and how are you connection the android to the RPi? bluetooth? wifi? is the RPi acting as a server and the android just browsing to a webpage? SSH? these are all options you can try, I would suggest SSH because its the easiest to setup and you can just execute command line commands on the RPi.
I think that wifi connection need to be used if android is going to be the remote control and issue commands to RPi. RPi will show a window (using Tkinter) with 3 buttons along with a listbox showing all the options. Android will press one of these buttons remotely. The three buttons could be “previous”, “next” and “select”. RPi will react to the commands from android. The listbox could show list of radio stations and one of them will be highlighted as the selected. This is basically what you have with GPIO buttons. My question is how capture the SSH commands and show them in the python gui as a button click. I am not sure how to write this in python and get SSH commands inside the program.
Another related question is how did you make the list of radio station URLs and to update them. Perhaps this will work only with Shoutcast and not with Pandora. What do you think?
Thanks,
Victor
victor, it wont work with pandora, it has to be regular streams for mpd to deal with it, there maybe another linux way of using pandora but you will have to look that up.
As far as using your phone to execute commands, I would look at the “Getting Started with Raspberry Pi” by Matt Richardson. He talks about changing pin values using Flask running on the RPi as a simple webserver. In his examples he is turning on and off lights by making ultra simple web requests, but it executes code in the same way. You just need to programmatically execute command line commands. Read that book, its a short easy read.
Hello again, I am having problems in getting mpd configured properly. Can you send me what you need to have in /etc/mpd.conf file? I also had could not get alsa-utils setup properly. Do I need to have alsa-utils? I have Occidentalis installed in my machine.
– mpd and mpc are working properly but something seems to be wrong with either configuration file or something else. Can you help me please?
Excellent blog, very helpfull! In UK and just took delivery of my new PiFace CAD, thanks to you I now have a self booting Pi, with ssh vnc and wifi all setup and internet radio auto starting at login & running displayed on the CAD’s screen, switch stations etc from the included buttons. Well worth a few quid!
Awesome, George! Glad my notes were helpful to someone. The RPi is an amazing computer for just $35 and I am always surprised at the cool things people have been able to do with it. If you have a blog or something put a link up, I would love to see it.
Pingback: PCOnline - Din datortidning på webben!
Have you considered writing the python script using software fuse and the FALLING_EDGE for buttons? RPi-GPIO 0.5.4 supports a simple short and saves on the up down state.
Would a cronjob at reboot work?
crontab -e
@reboot sudo python radio.py
ctrl+o ctrl+x
MrAJAnderson, I am not sure what you mean here. What is “software fuse”? And are you saying to use interrupts (FALLING_EDGE)? You could use interrupts for the button presses here but what I have above is much less complex, and works without issues.
Using crontab to set an action on reboot seems like it would work as a way to auto-start the radio app on reboot (from what I just read), but I have never tried it that way, let me know if that works for you.
Thanks for your site! I look forward to putting this together. I notice that the PiFace CAD home site has a tutorial on building an internet radio.
My question(s):
First, I note that there are many web sites that stream a radio station. Will this work with those streams?
Second, There usually is a long delay before these types of streams start playing, but in your demo, the streams start quickly.
Have you considered recording the audio stream for playing later?
What is the best way to get good audio quality? You mention a usb sound card. Is this necessary?
I’m not a linux expert myself, have you found any good books on?
Thanks in advance for any help.
jb
jb,
as long as it is the right kind of stream and you can access the URL for the stream it should work fine. If you can find them on ShoutCast as discussed above, it should be no issue. I hadnt thought of recording the stream but it should be possible. The USB sound card will probably be your best bet for getting full sound quality, but it is not necessary as the headphone jack delivers decent quality (on many streams). Let me know if you have any other questions.
James
Ps,
The “Getting Started with Raspberry Pi’ really helped me get started in linux. Linux was a little confusing at first but playing around with the command line stuff and just googling I found simple (albeit confusing syntax) ways of getting through all the issues I hit. I have as of yet be unable to break Linux, it is super solid and stable 🙂
Just a quick note, there is now a sound card available for the pi =D
I just bougt raspberry pi to use for my television intead of cable and i love it. The setup takes a little time but when you have all things setup you can enoy lots of media free of charge!
Hello, here you can see my Raspberry Pi Internetradio including the sourcecode: https://blackit.eu/category/it/pi/pitradio-pi/
You can ask me some questins about this one on my blog: https://blackit.eu
Nice job Daniel! Thanks for the link too.
I’m added some fotos from the Projekt to my Blog. https://blackit.eu/2014/05/20/pitradio-fotos/
Hi James,
First thanks for sharing your code with us. I would like to create an alarm clock based on my raspberry PI and a 230 X 240 TFT LCD. I already done the code for display and have everything ready, but i want to integrate some of your code with the one i have. All i need now is to display the current playing station and some sort of setup for alarm. Here are some pictures and the code. Thanks in advance.
code : http://codeviewer.org/view/code:4130
Photo : http://postimg.org/image/kf7kpe4o7/
http://s7.postimg.org/447gt2s6j/14060011.jpg
LCD display : http://www.forum-raspberrypi.de/Thread-test-c-berry-3-5-tft-display (It’s in german)
Georgian,
Nice work! Let me know if you have any trouble implementing my code into yours. I changed your links so that they are clickable and I looked at the German page (Chrome translated it for me 🙂 ). You should put your project into a nice blog post (like mine here) so that you can easily share it. I would also suggest looking on the Google+ community here:
https://plus.google.com/communities/113390432655174294208
You can also contact me here:
http://google.com/+jameswolf
Can you tell me please, Pi type A is good for it?
PiBeginner, yeah this project uses the first RPi that came out. I bought it on the release day of the Raspberry Pi, so it will work on ALL versions.
Pingback: Raspberry Pi External Hard Drive Problem
How are the buttons wired ?
Thanks, great project
John
Thanks John, I have a better explanation of the wiring for the buttons on my Point & Shoot Camera project listed here: https://contractorwolf.com/raspberry-pi-point-shoot-camera/
It has the wiring diagrams and pictures of how to do it. Let me know if that works for you.
Pingback: Raspberry Pi 2NEWSPEPER | NEWSPEPER
im getting this error:
cmd = subprocess.Popen(“sudo mpc play ” + str(currentChannel),shell=True, stdout=subprocess.PIPE)
^
IndentationError: unindent does not match any outer indentation level
what can it be?
im getting this error:
cmd = subprocess.Popen(“sudo mpc play ” + str(currentChannel),shell=True, stdout=subprocess.PIPE)
^
IndentationError: unindent does not match any outer indentation level
any idea what can it be?
Manuel, Python uses a strict system of indentation instead of curly brackets to control the flow of the code. That error suggests that there is an issue with your indentation, more than likely you are using spaces AND tabs or your tabs do not make sense. Go through your code and try and use tabs for all of your code indentation. Somewhere just before that line probably, just look carefully.
Pingback: Cum putem utiliza placa Raspberry Pi 3 ca radio Internet | Robofun Blog
I know I am gravedigging on this article, but if you are still checking the comments I would love some help. I got MPD and MPC downloaded and was able to play a radio station stream (yay!). Then I created a “mine” playlist as instructed and ran the python code you provided and get: “mpd error: bad song index” and no sound. I’ve tried googling this error but I’m completely unable to find anything relevant. Any help?
i found that some streams were unusable, did you try others?