So my Rockfish noise-reduction headphones broke. Basically the plastic part that connects the headband to the earpiece snapped because it is made of cheap injection molded plastic. It sucked, but I was thinking I could take this opportunity and see if I could build a replacement part using my Up Plus 2 (my new 3D printer) and maybe improve my SketchUp skills a bit. Here is what I did.
 |
 |
Design
I decided to take the broken piece off carefully, trace it, and measure the length and the amount of curve. Its is a very complex piece, but I wasnt really looking for an exact match. I just needed the new part to be a close enough match so that it could fit the connections to the rest of the headset as well as look cool.
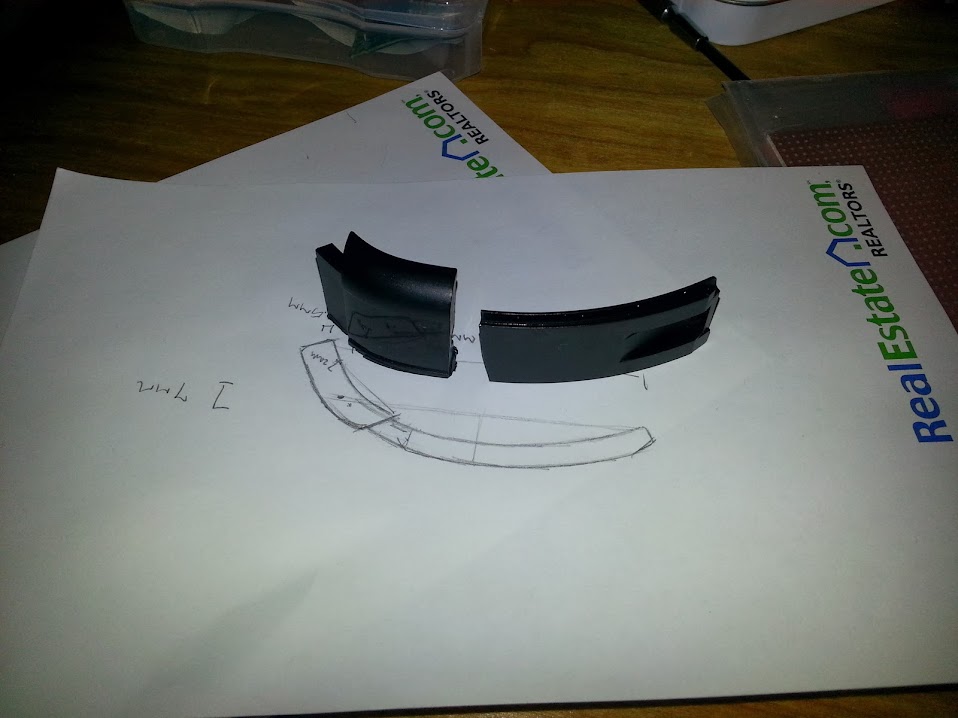
I used SketchUp and the measurements I had sketched out to create a new design. The new design would be in two pieces that used small bolts and nuts to attach the parts to the earpiece, and the same shape to slide up into the headband. It also needed to be slightly larger and more heavy duty, to last as long as possible. I also made sure to make the part ambidextrous so that I could have a single design that would work on both sides of the headset so that I could replace them as a pair.

Mock up and Testing
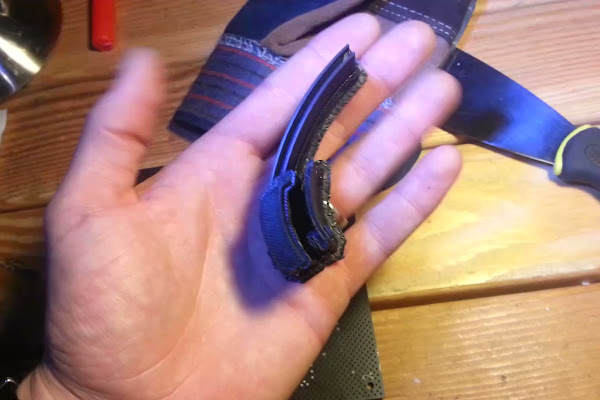
I printed the first mock up in white (since I still had plenty left). I used that 3D part to check all my measurements against the real thing. I had to make sure that my digital design would work in the real world. I needed to make a few tweaks, but my basic ideas were sound. Below is the white mock up with the original broken piece.

After a few more minor design changes I decided to print the final design in black (my first colored print on my Up Plus 2!). I was shocked at how well it turned out, the color was great and I knew the layering would make the part much stronger than the original injection molded part. You can see the initial print (with rafting and scaffolding still attached) in the GIF below:
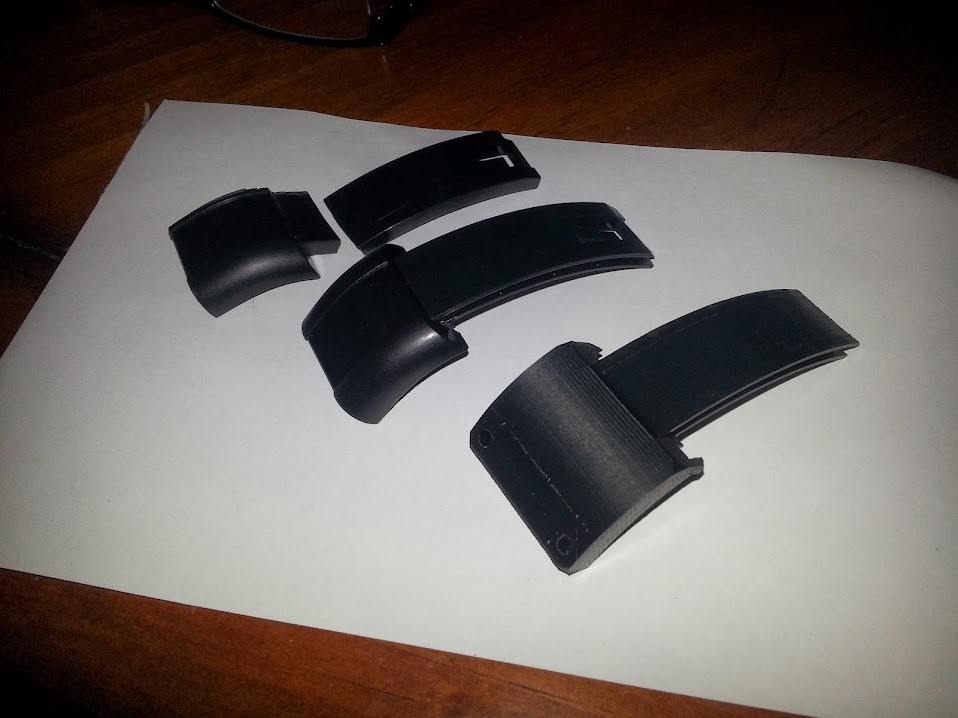
You can see the broken part (left), the other side (not broken but to be replaced, in the middle) and the cleaned up 3D printed replacement (on the right) side by side here:
Assembly
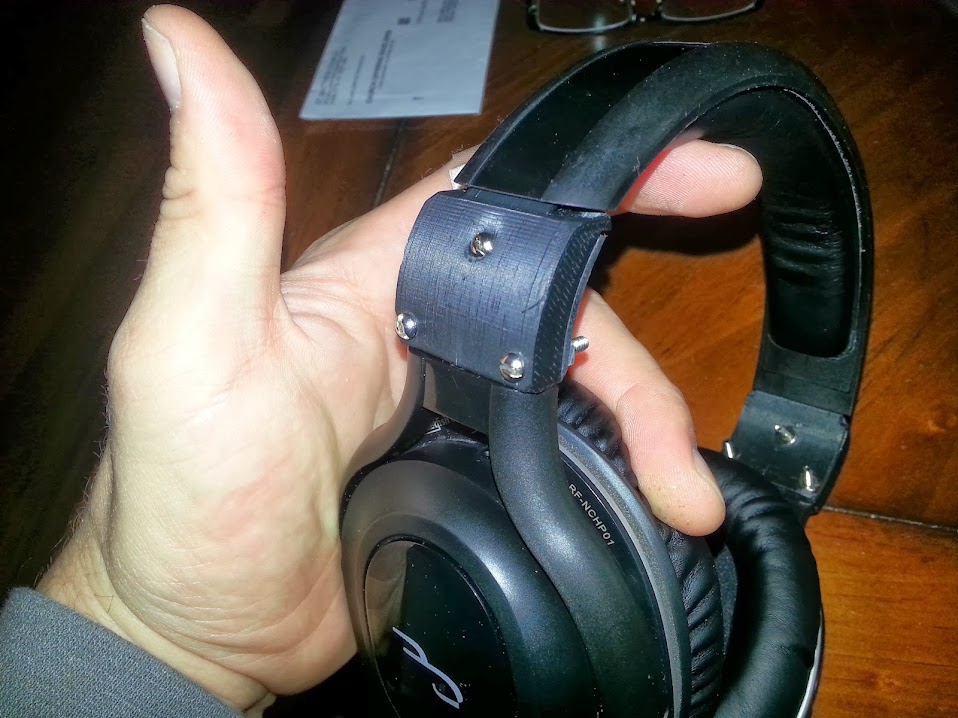
Now the new part needed to be attached. I decided to print both sides so that it would be a matched set. I had to do a bunch of little changes with a file and small razor, to get everything to fit flush. To get the new part installed first I had to lay it flat and fit the earpieces on so that it would attach. Next I had to run the tiny bolts through that would give the design structure and make it really last.
 |
 |
You can see the final result here:
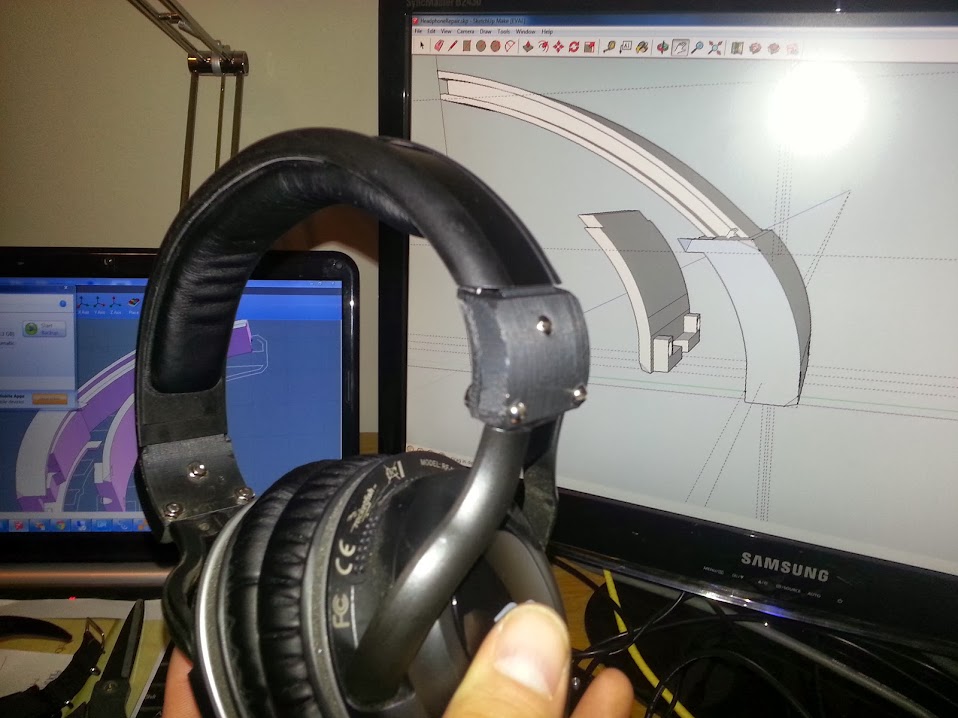
Here are the headphones with the new parts set against the SketchUp design, so that you can see exactly how the newly designed piece fits into the design of the headset:
3D Printing files:
Rockfish Headphone Repair SketchUp Design File (.skp)
Rockfish Headphone Repair STL (.stl)
Hardware:
UP Plus 2 (3D printer)

Hii sir my headphones is broken please repair my my headphones ☹️