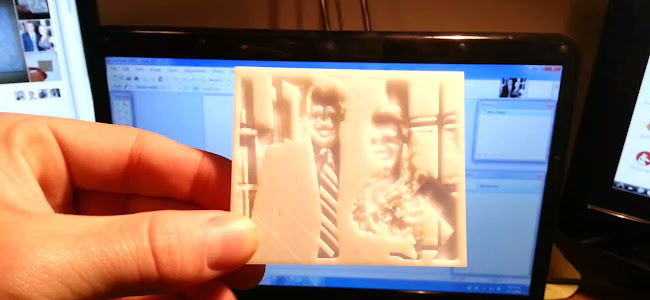
I have spent the last week or so learning how to use my Up Plus 2 to make Lithophanes. Lithophanes are created by layering plastics so that the more plastic will produce a darker image. You can read more about the history of Lithophanes here:
http://en.wikipedia.org/wiki/Lithophane
I finally found some really good freeware used for converting a JPEG image to the Lithophane STL file:
http://geisel.ba-bautzen.de/bmp2iges.htm
(the original project is German but the download runs in English)
The program itself is a simple EXE that allows you to open a JPEG file. When the JPEG image is open you only have to set the border color (I would suggest black for a solid border). After that there are only 4 other values you need to set on the diagram:
Top value: Border width on your lithophane (2mm)
Left value: Total depth of lithophane (I would suggest 4mm here)
Bottom value: Width of lithophane (before the border)
Right value: Depth of cut out (I would suggest 3.2mm here, for best mix of contrast). This number subtracted from the total depth give the thickness of the lithophane at its thinnest layer.
After you have selected all the values you want all you have to do is click “save and calculate” to save the output as an STL to be printed.

I wrote a Javascript page for making surface files that can be used in OpenScad.
http://camerinhahn.com/image_to_surface.html