Make Magazine had some of the best documentation on 3D printers when I was first started thinking about actually buying one a few years ago. They did a post last week about the NASA Mars Curiosity Rover stl models. I wanted to see if I could try to print one on my UP Plus 2.
I decided that I would try and do the smaller of the two models provided by NASA. The STL of body on the larger model didn’t fit on my build plate so instead of trying to resize all the pieces, I decided to try the smaller body. The larger model has additional detail, but even this had a surprising amount of detail.
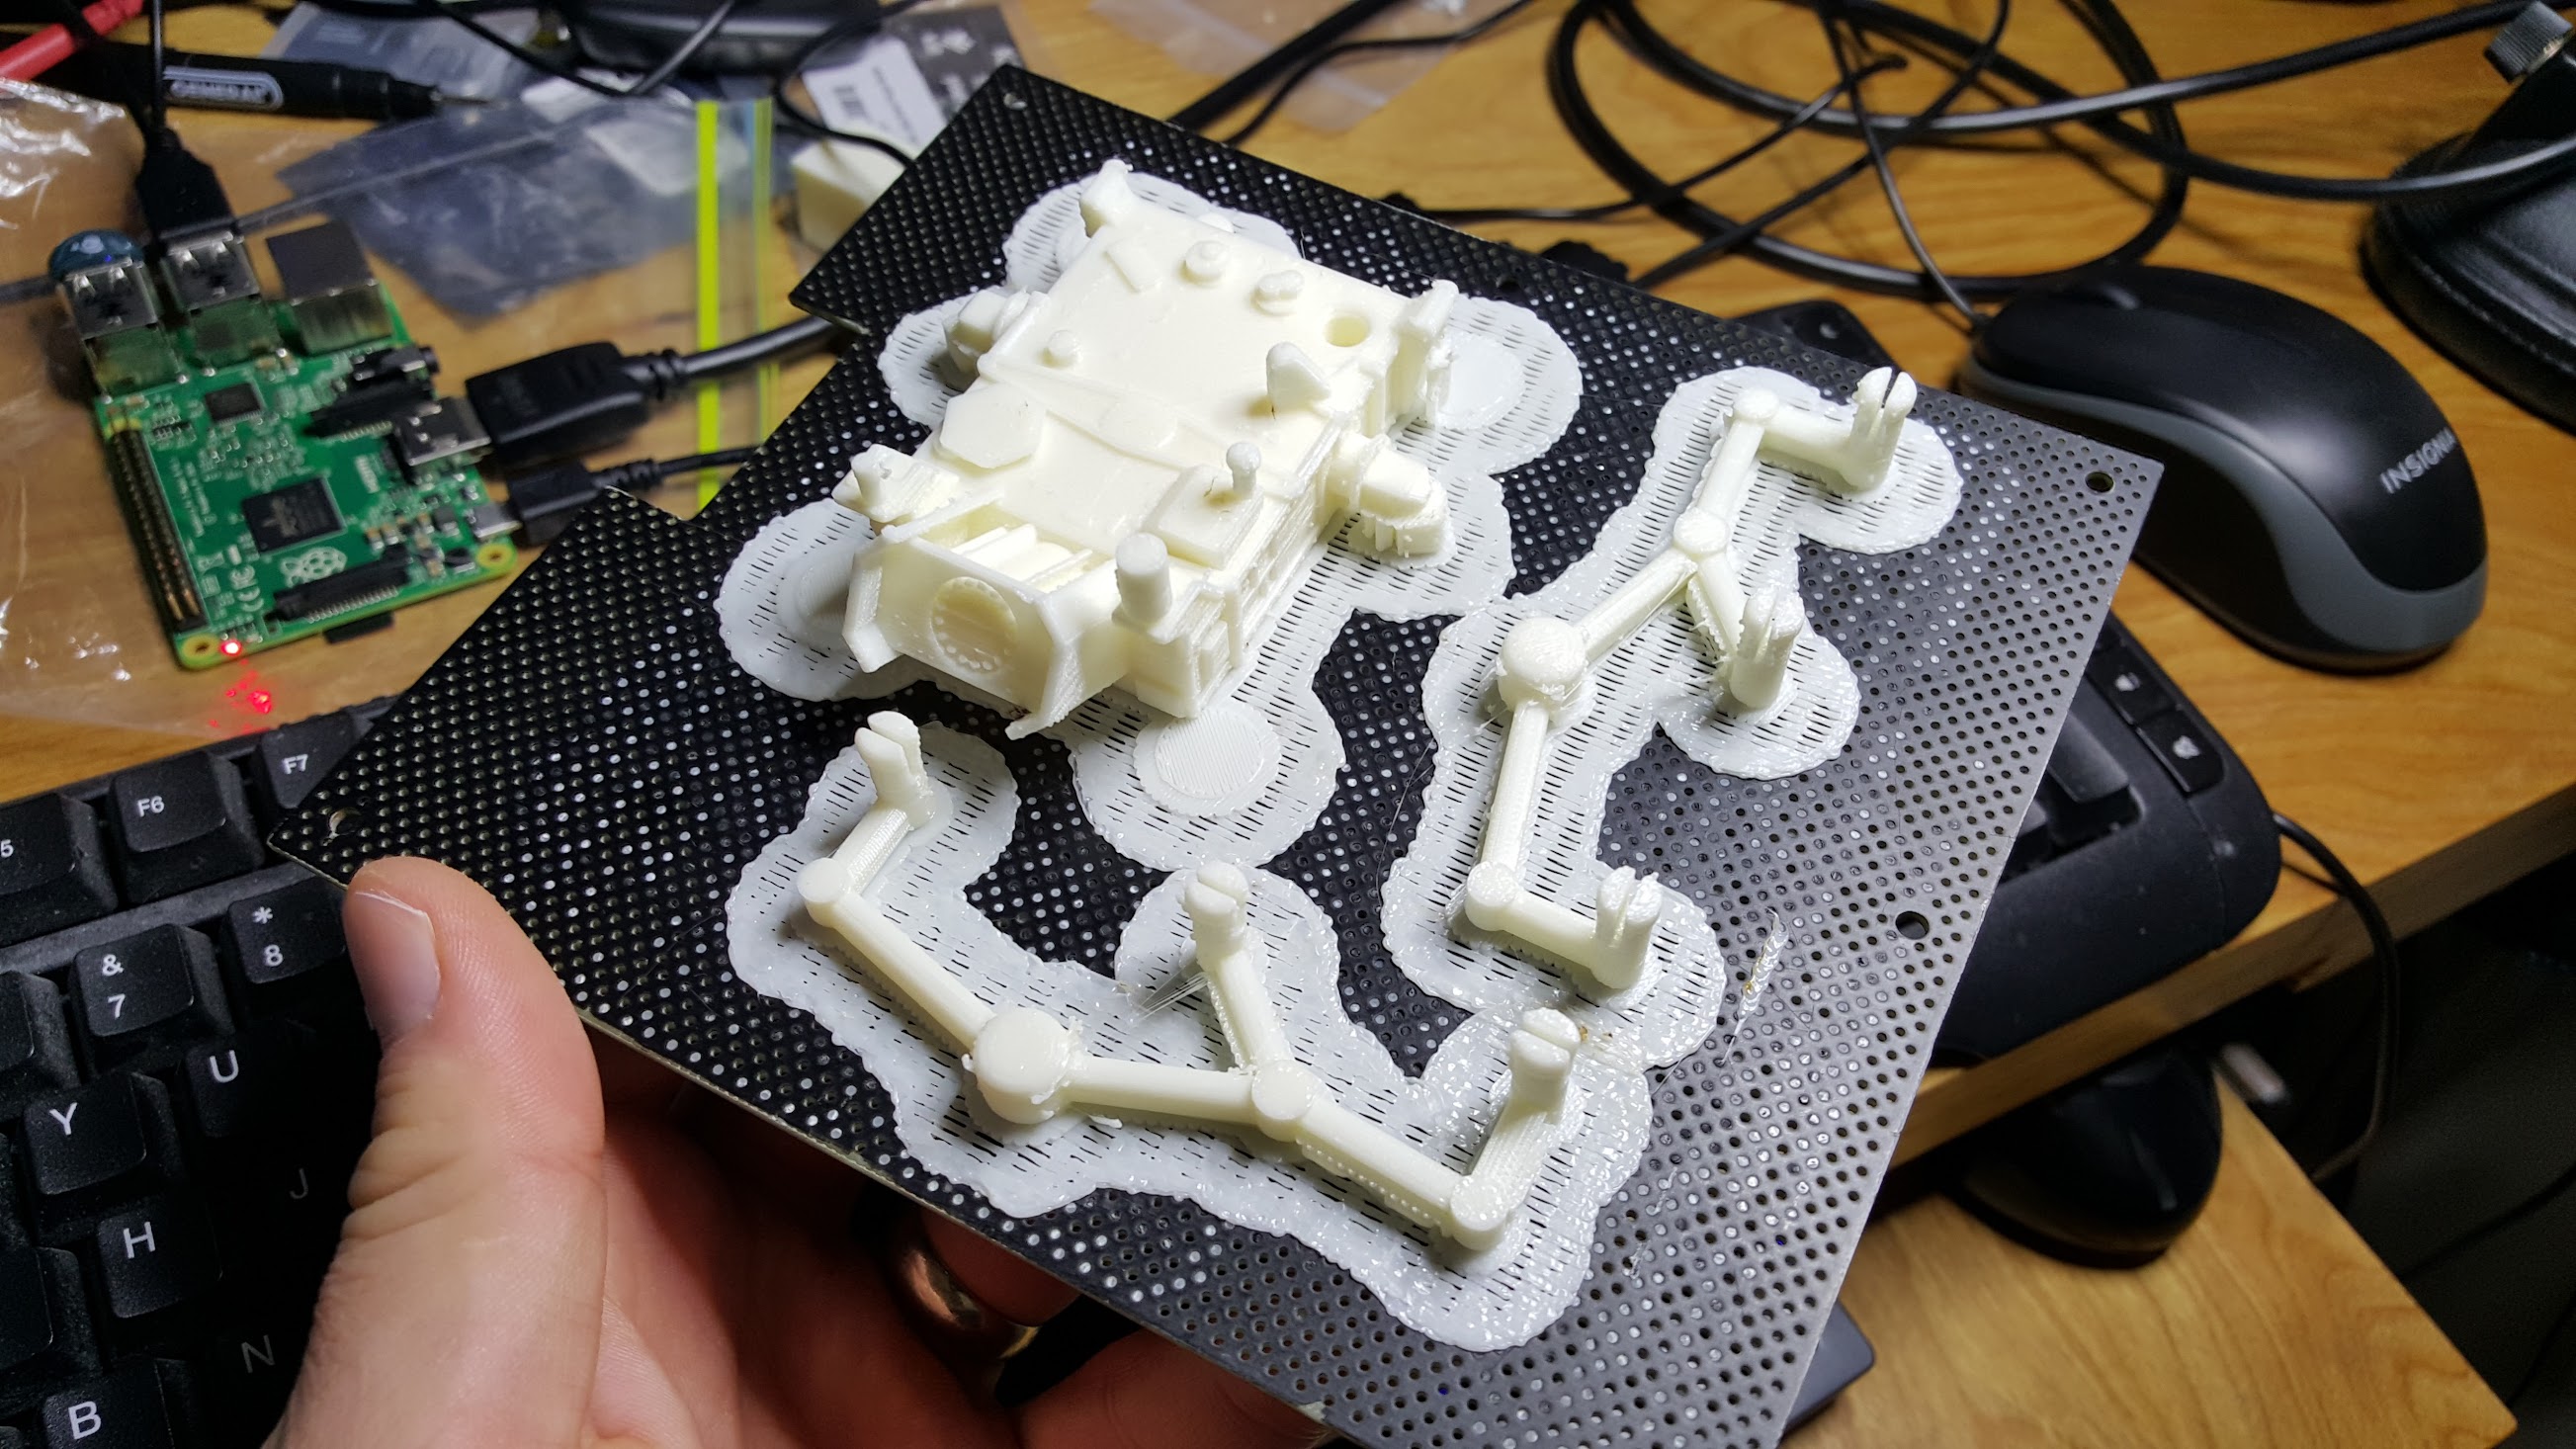
The parts print easy on my UP Plus 2, but there is a lot of support material. It took a couple of minutes per part to clean up afterwards. This what the material looks like coming off the printer.
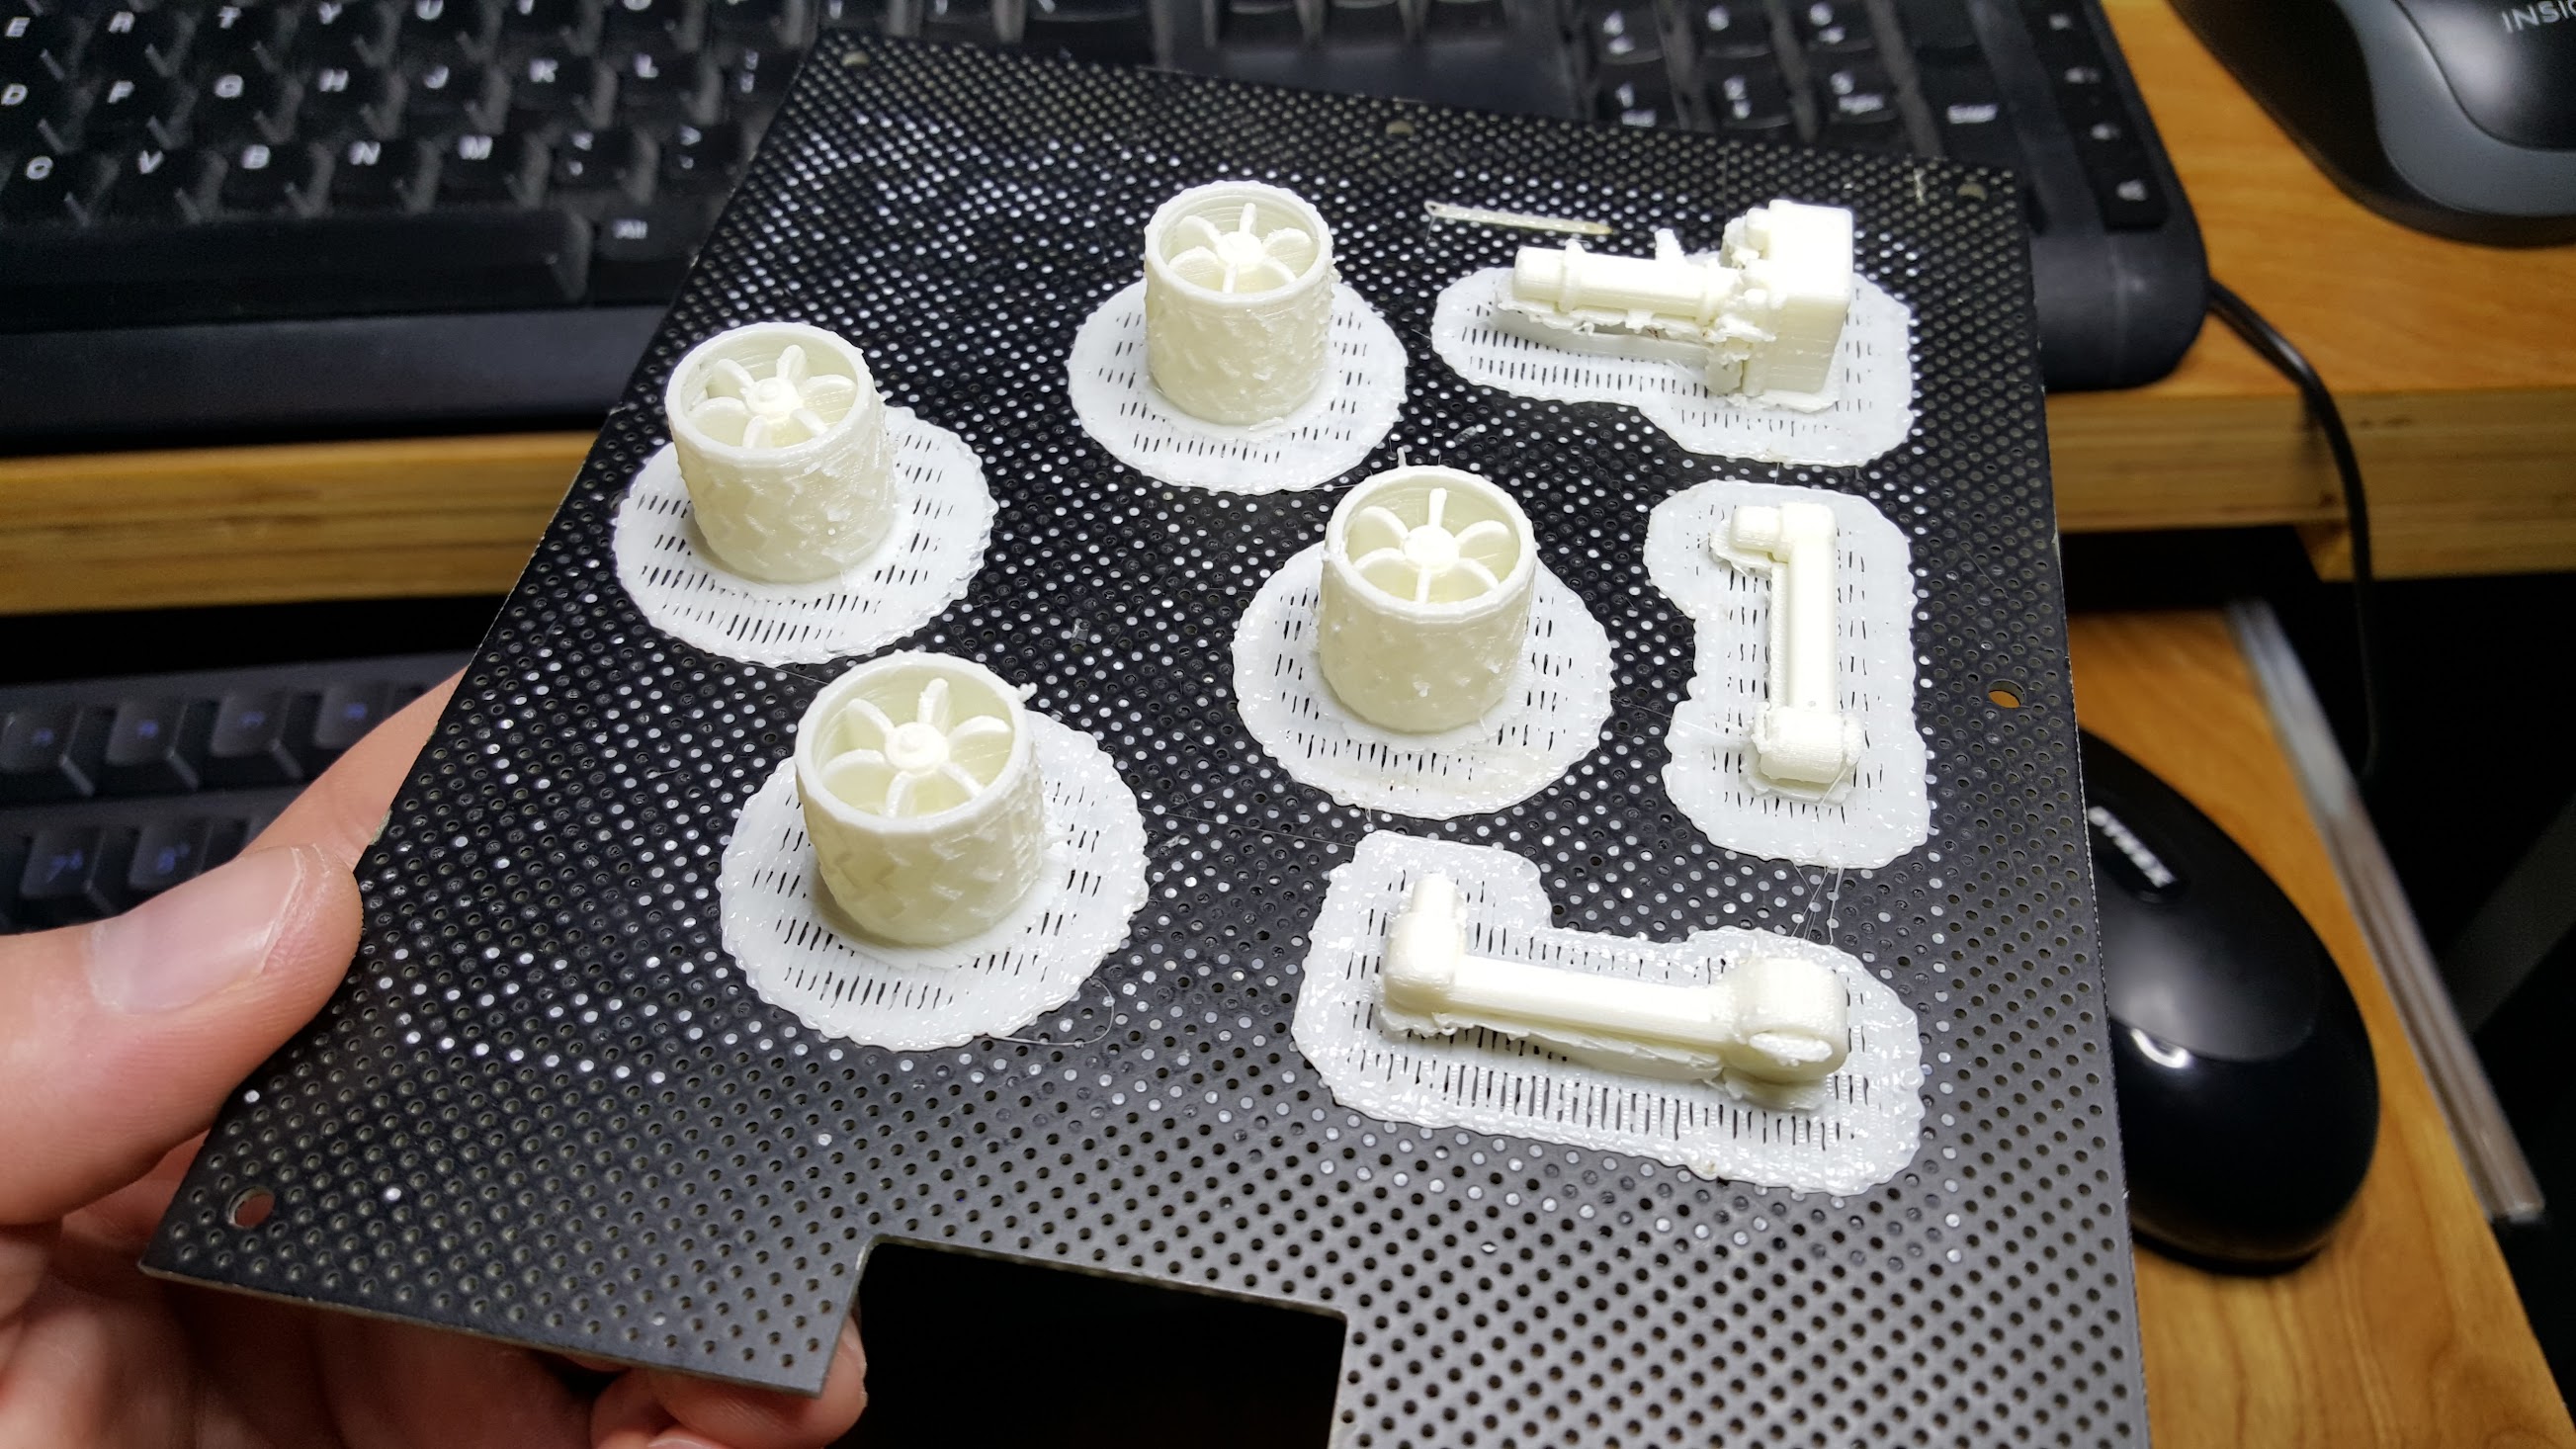
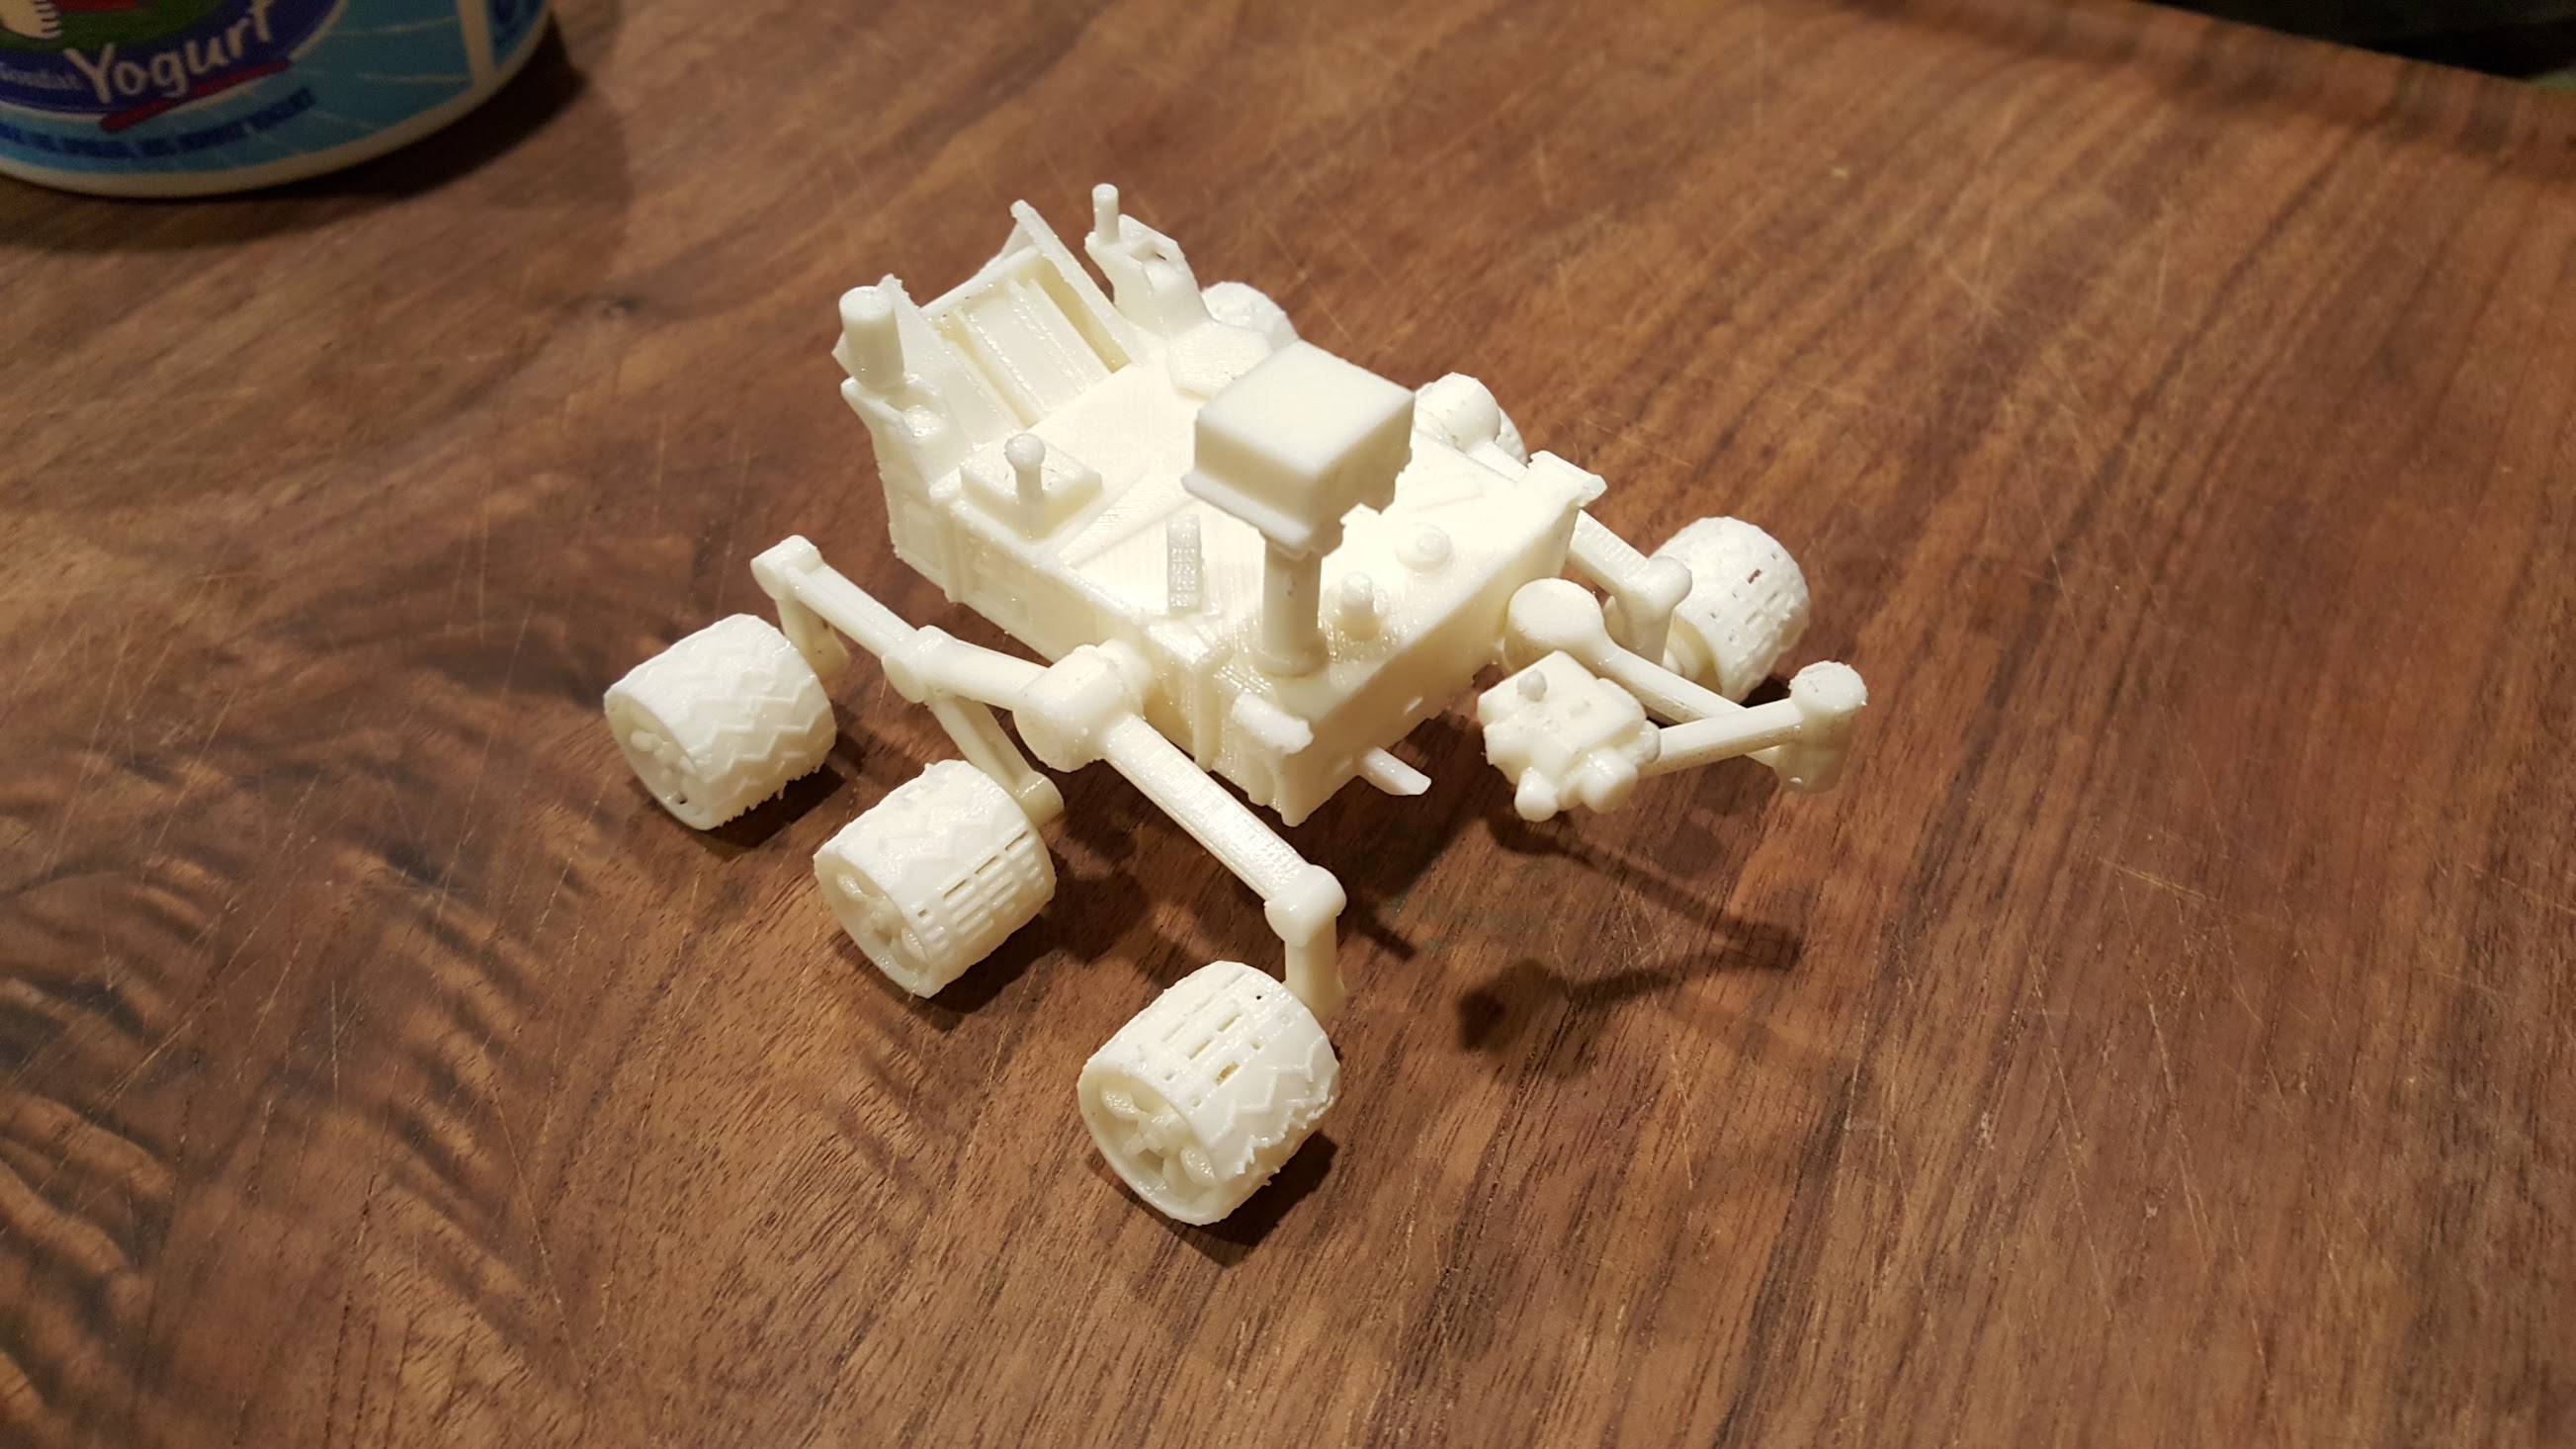
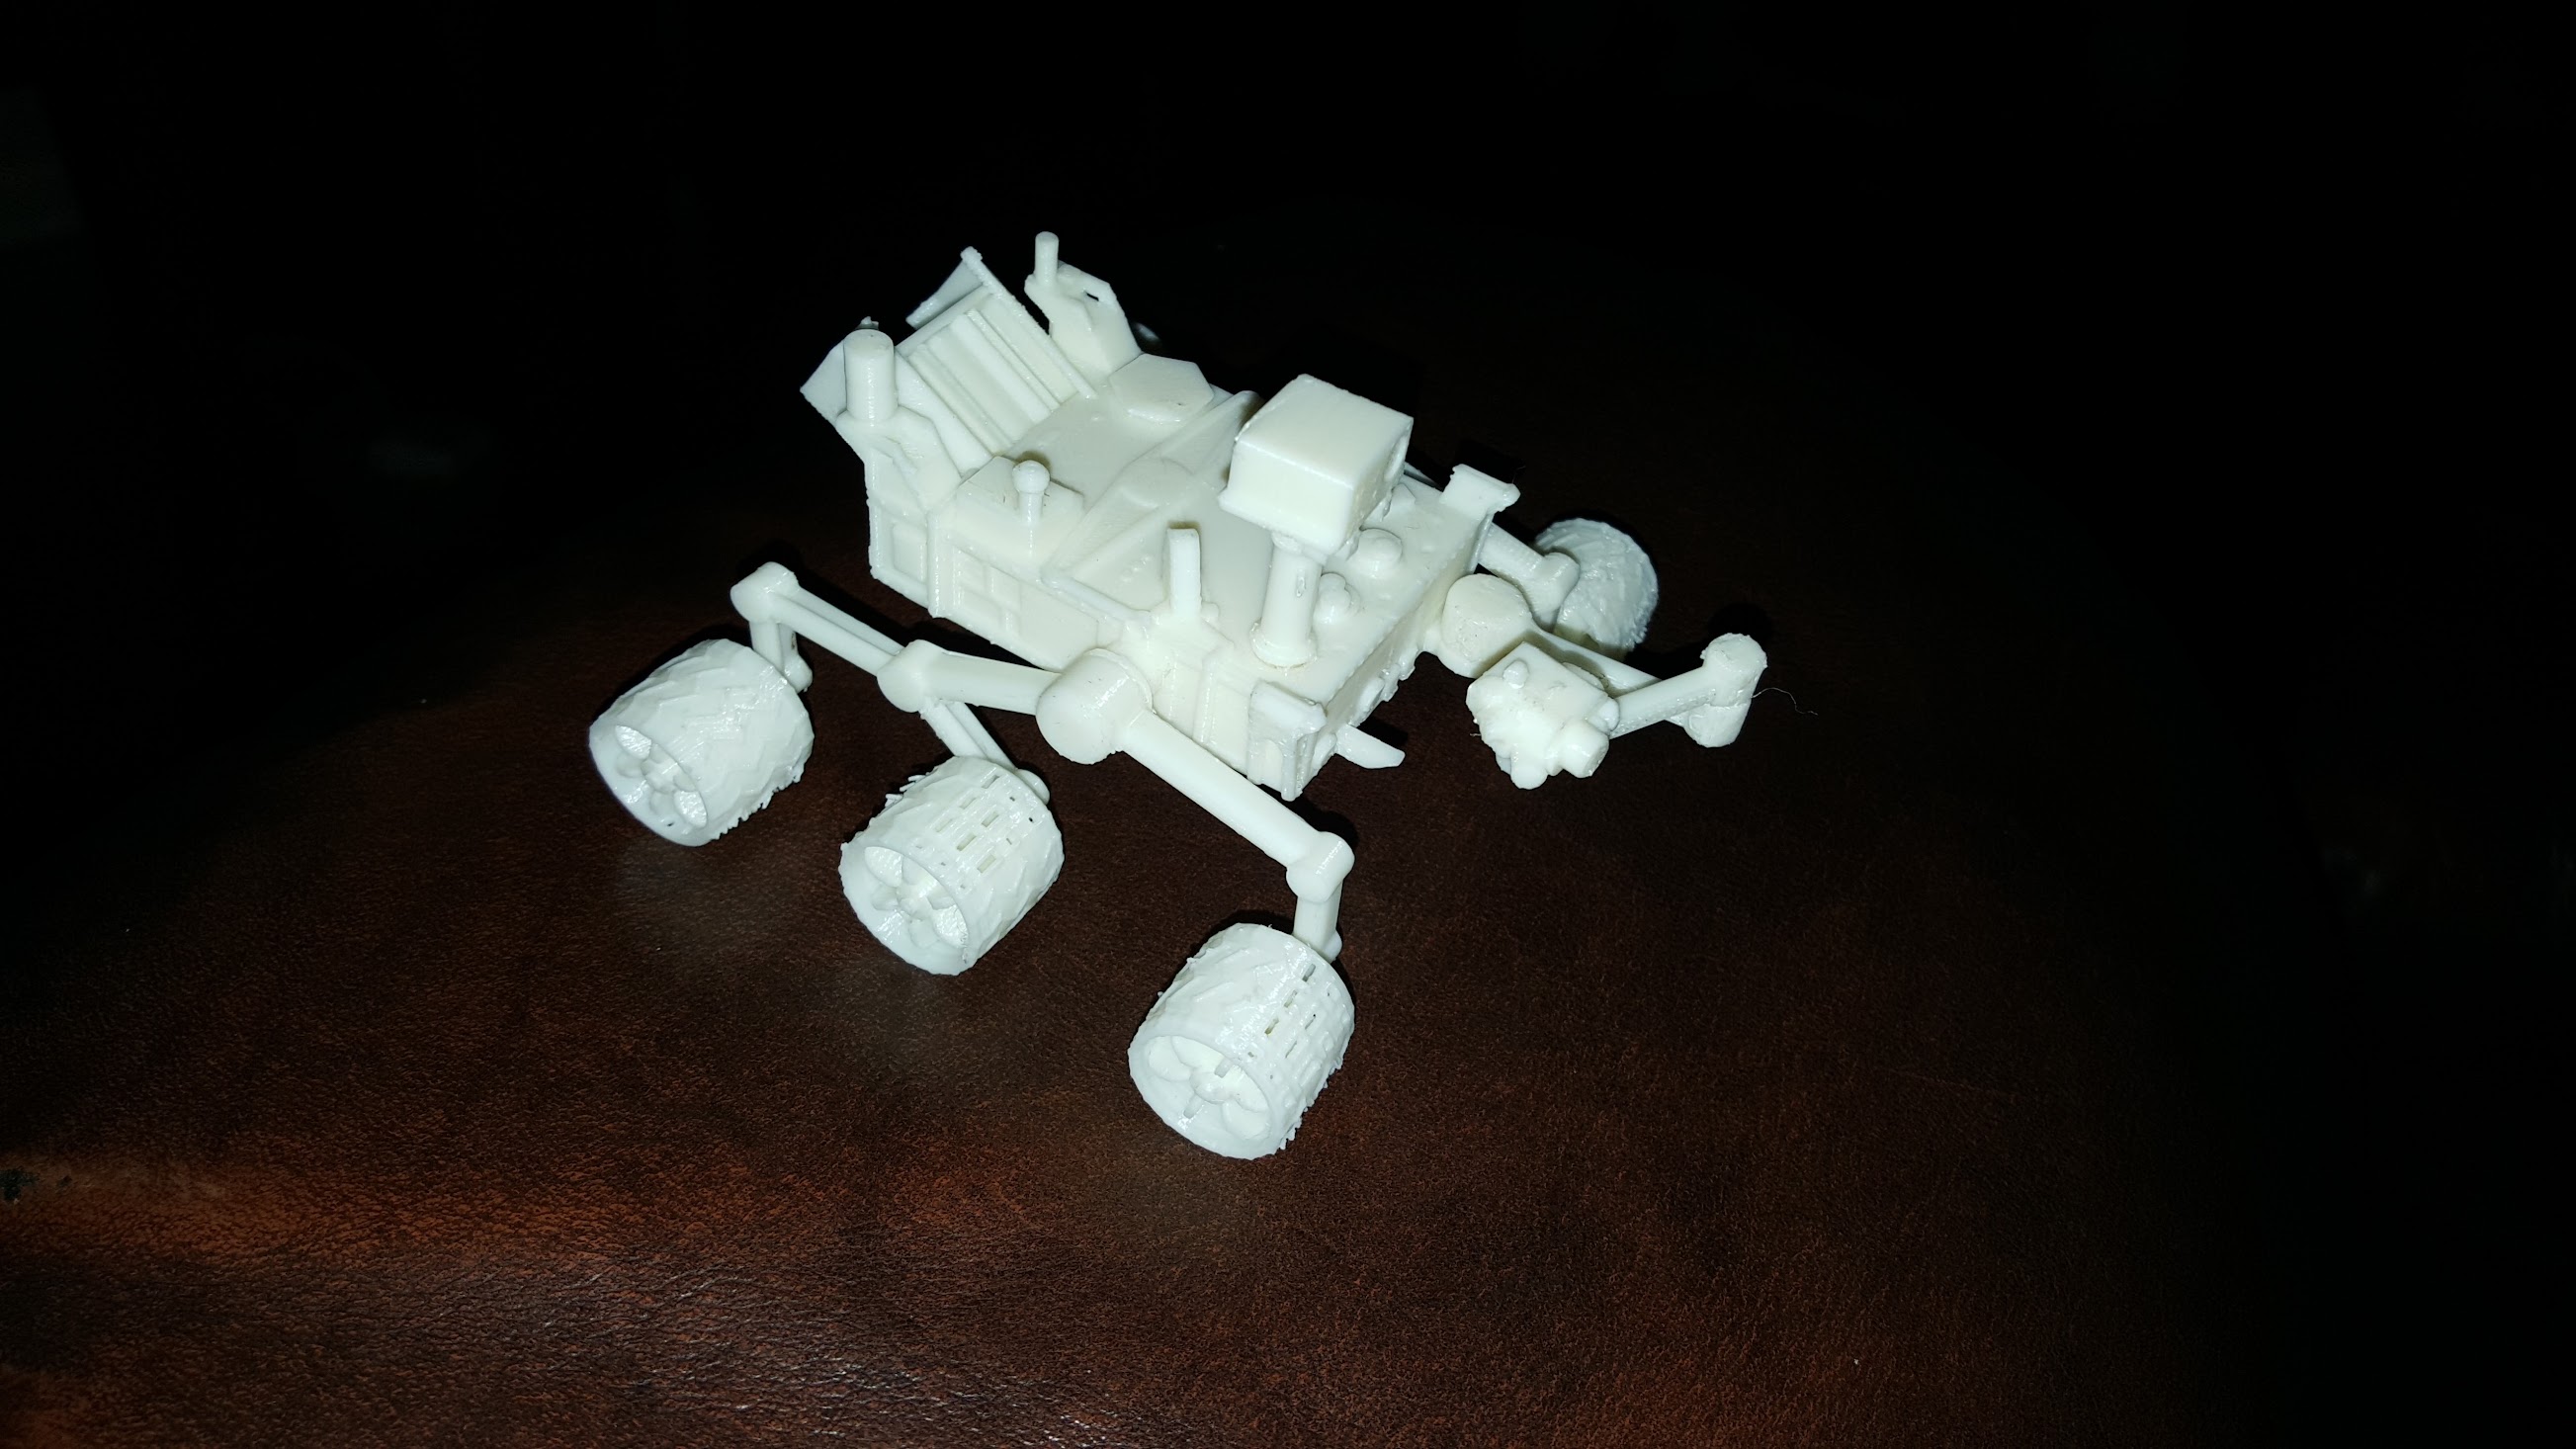
There are 12 individual parts on this design, six of them are the wheels. I had plenty of clean-up of the support materials but the clean-up meant that the parts were able to fit in place. The wheels are actually smartly designed and after they are properly cleaned out, they click into place but still spin as wheels should. The other parts didn’t click into place, so I added a bit of glue from a glue-gun to seal them in place.
I think this print will really show what your printer can do. It is detailed and delicate but they made some smart choices about how to connect things like the wheels. I think they could have carried that concept further if more of the joints clicked together, but coming up with a model that will work well on a multitude of printers is a difficult design challenge.
I have had my UP Plus 2 for just over a year now, and I really think it is one of the best.
The STL files and 3D viewer are located on the NASA page:
http://nasa3d.arc.nasa.gov/detail/mars-rover-curiosity
and the Make Magazine post by Calib Kraft is here:
https://plus.google.com/+MAKE/posts/UHcqYvZXSLn

nicely done – will you paint this ?
Jules, I hadnt really thought about it, right now its just a nice desk ornament